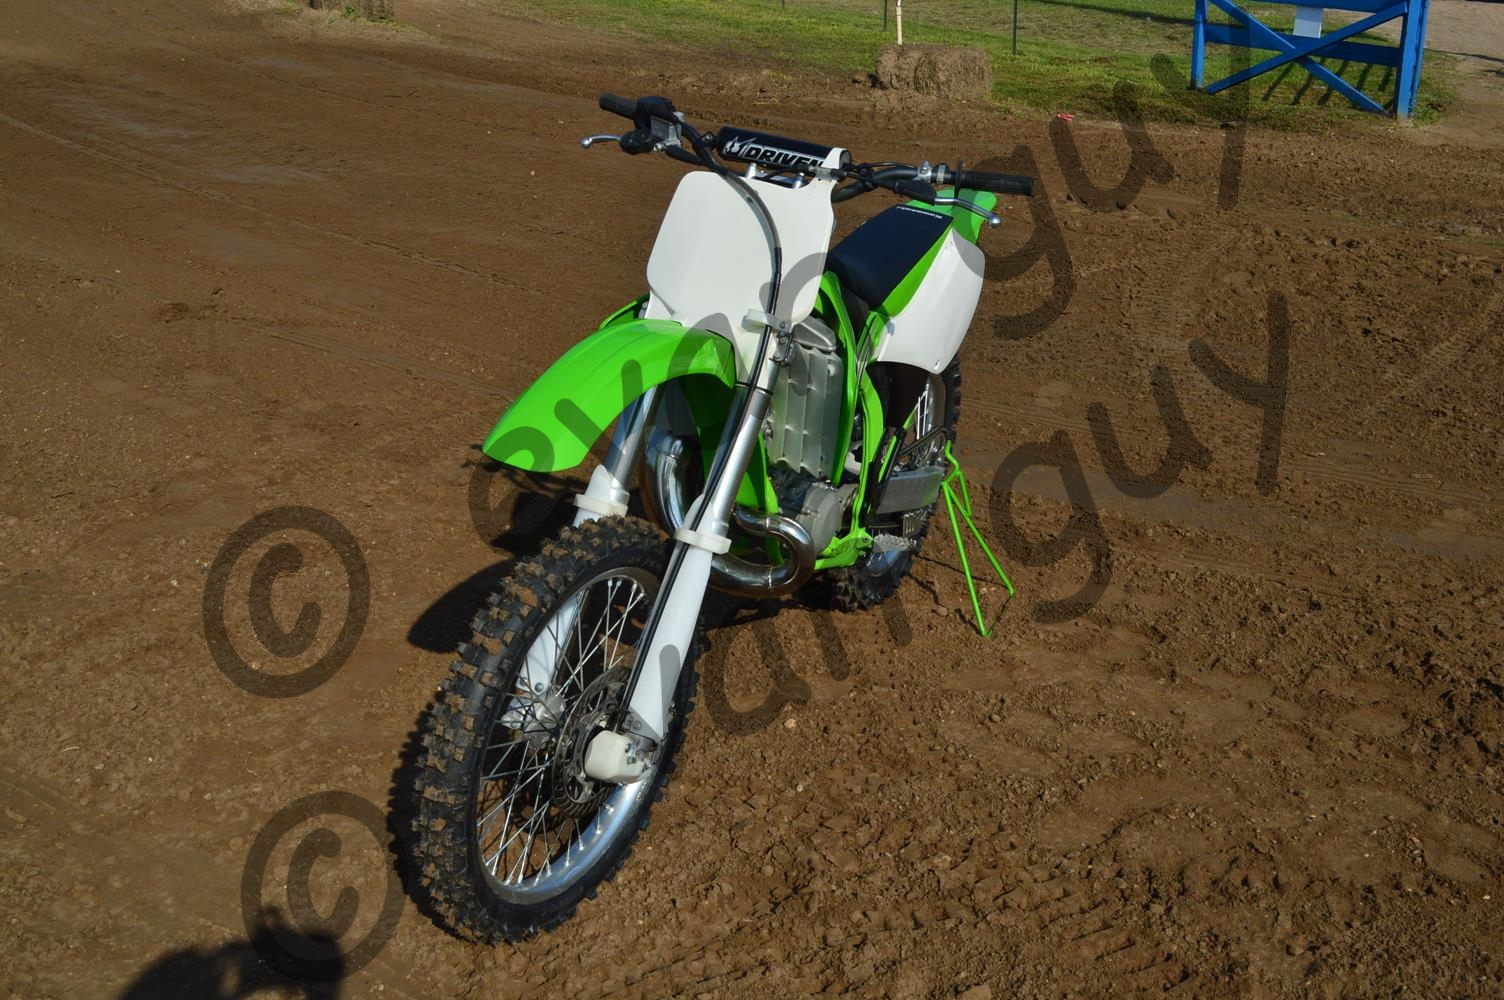
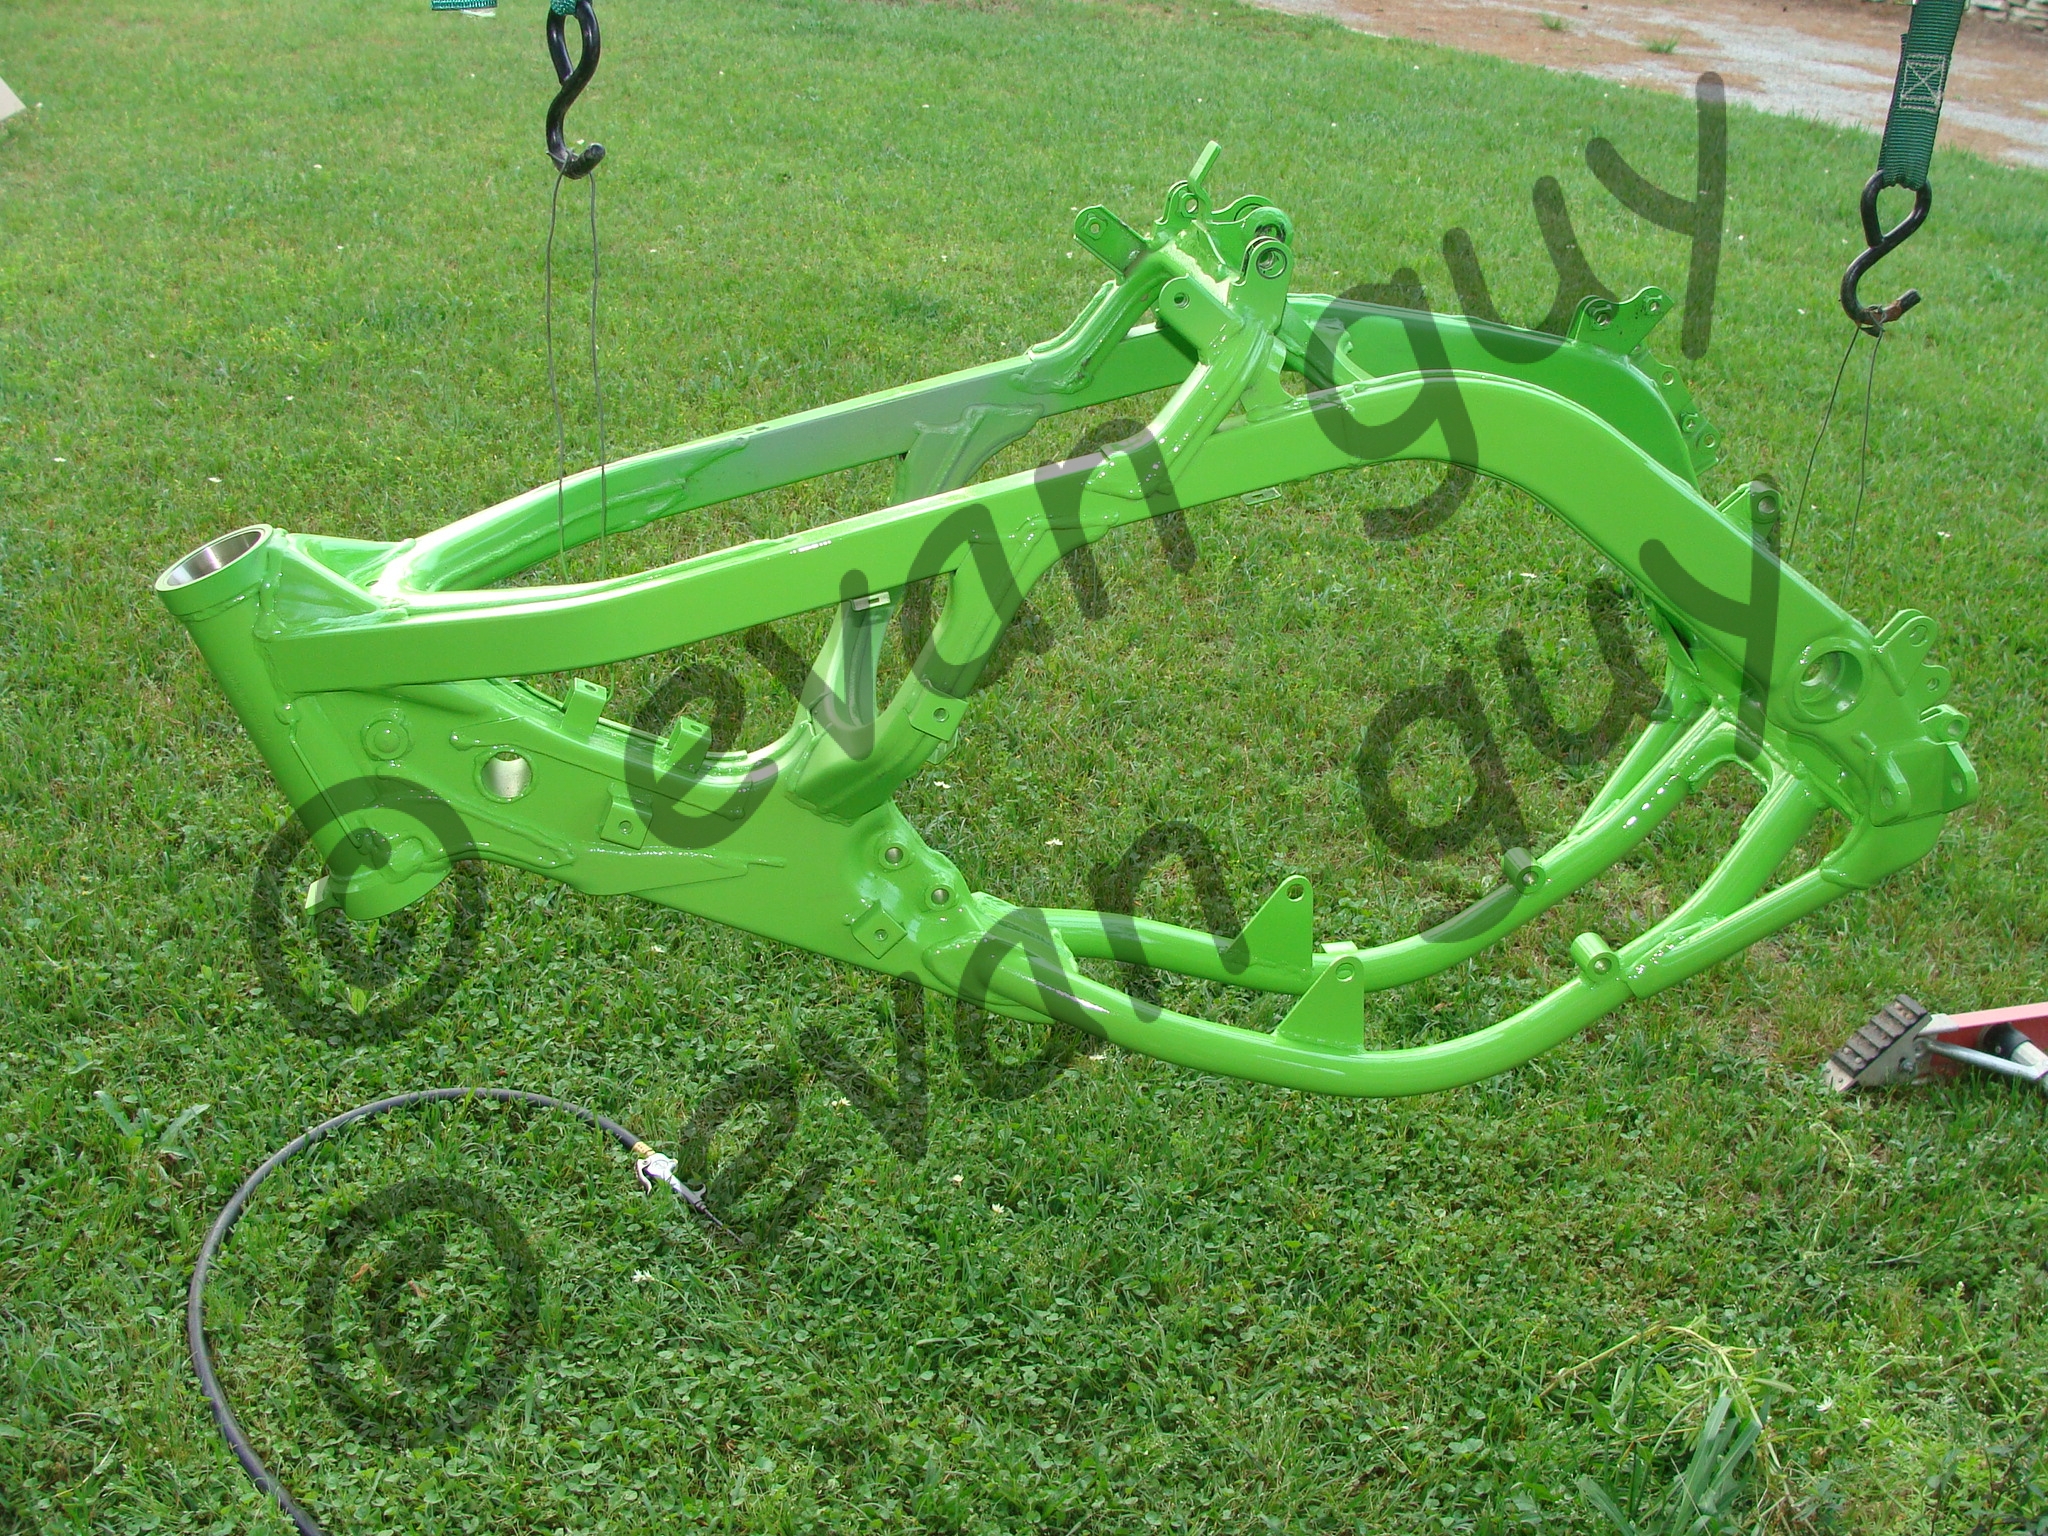
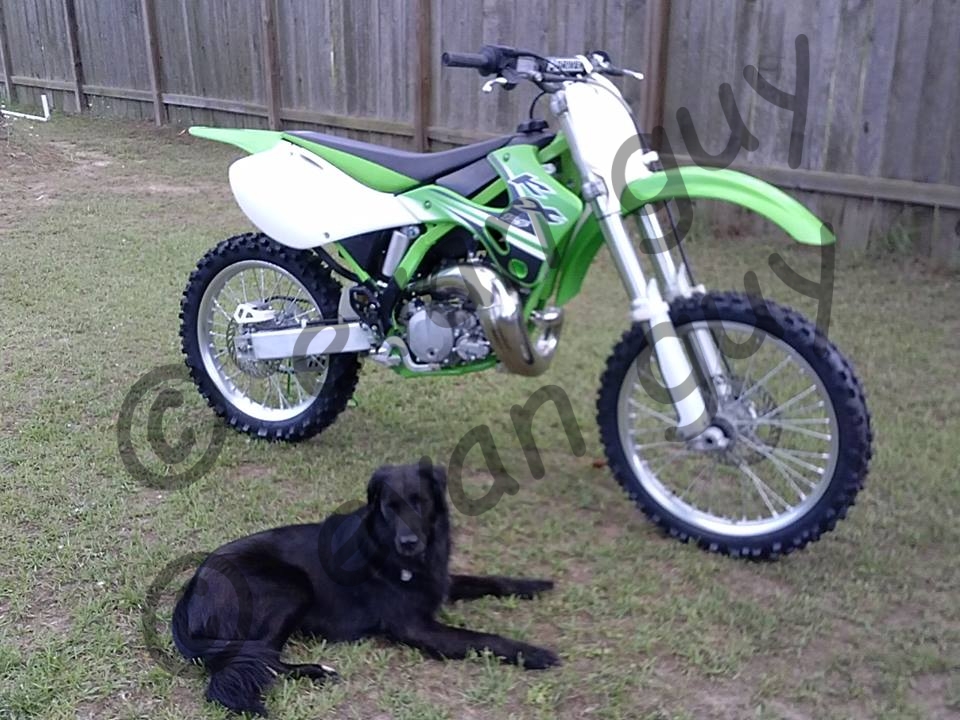
This is the finished bike. That is the KDX-220 engine in the KX-125 chassis,,,
Back in 2002, I bought this KX-125 brand new from the dealer. From the first ride, I never liked it. The engine had a very narrow powerband, just as 125’s do. But when it did ‘hit the pipe’, it didn’t even make much power. We would take it to the MX track with us, but it never got ridden; we had better bikes to ride. It would just sit next to the truck while the other bikes were out on the track. Outcast motocross bike.
In 2011, I thought, “I’m gonna sell this thing”. Even though is was brand new, like 12 hours of running, it wouldn’t have brought much money. That’s when I came up with the idea of infusing a KDX-220 engine into the 125 chassis. It’s a great combination! The KDX-220 engine is from an enduro bike, really wide powerband–it makes good torque throughout the speed range, with a sacrifice of top-end hit that motocross bikes have.
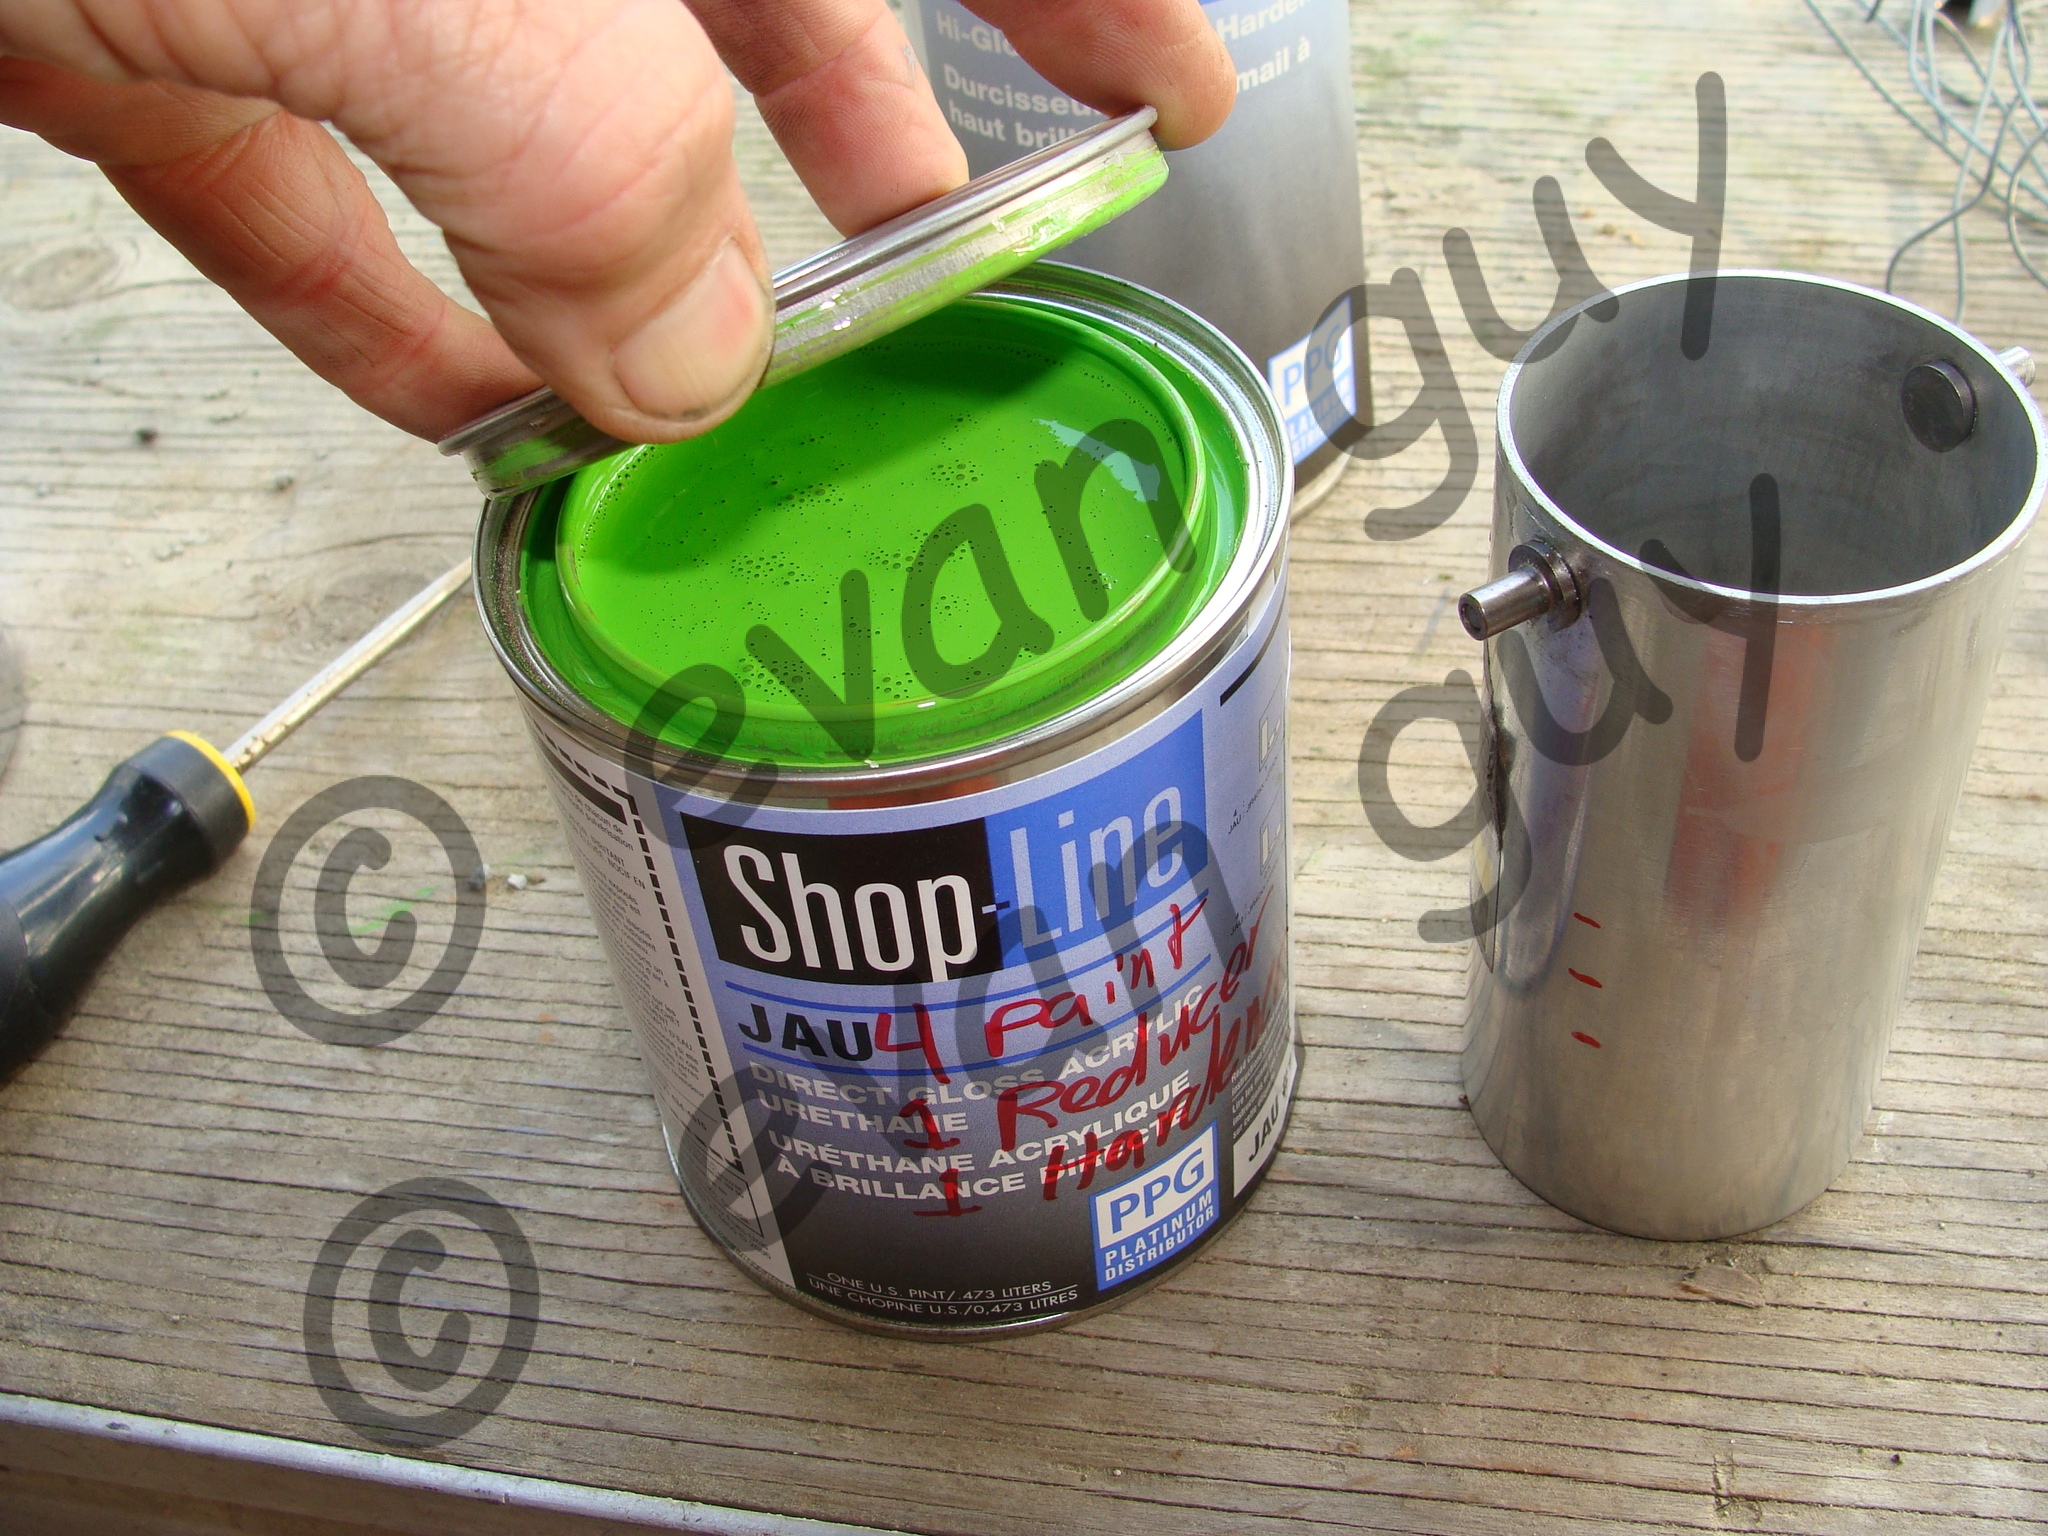
The 125 chassis is much, much better than the KDX’s. The finished product is light, nimble, petite, and really easy to ride. It could be the ultimate all-around dirt bike! The finished bike is beautiful! You really can’t tell that this bike didn’t come from Kawasaki just like this.
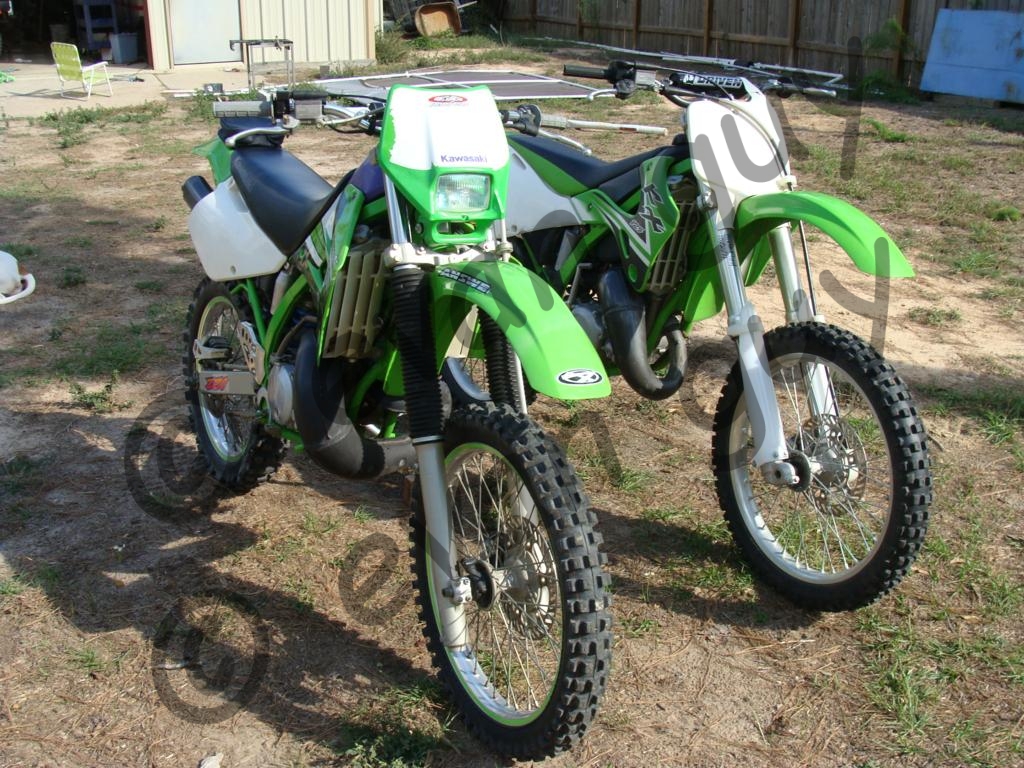
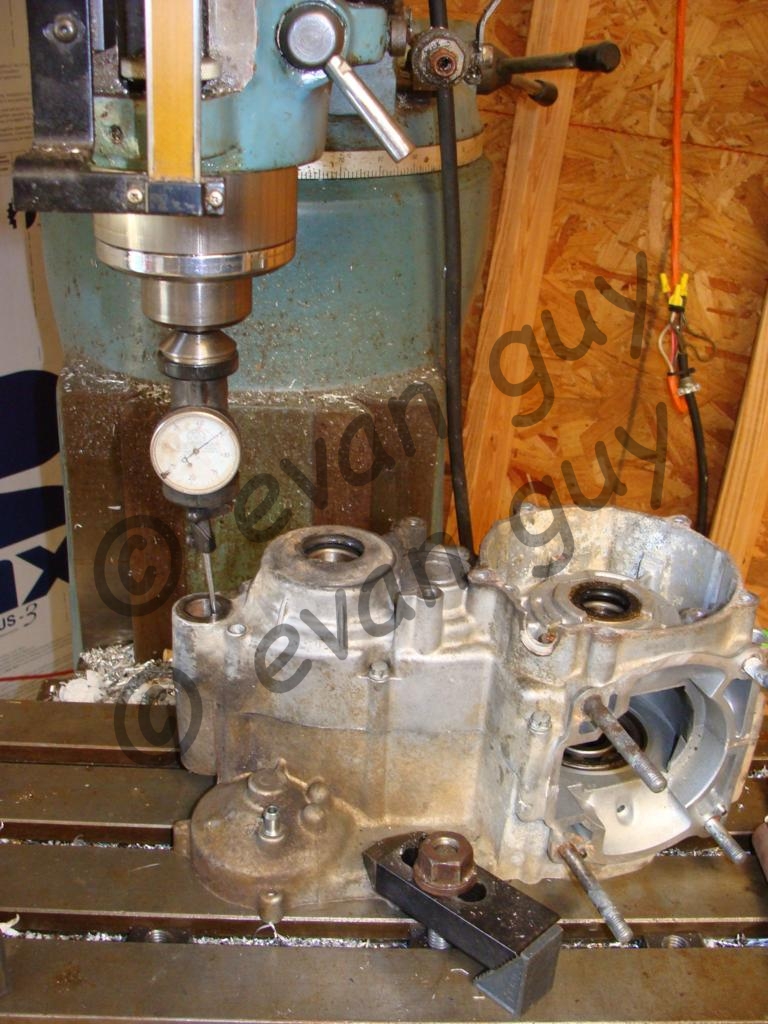
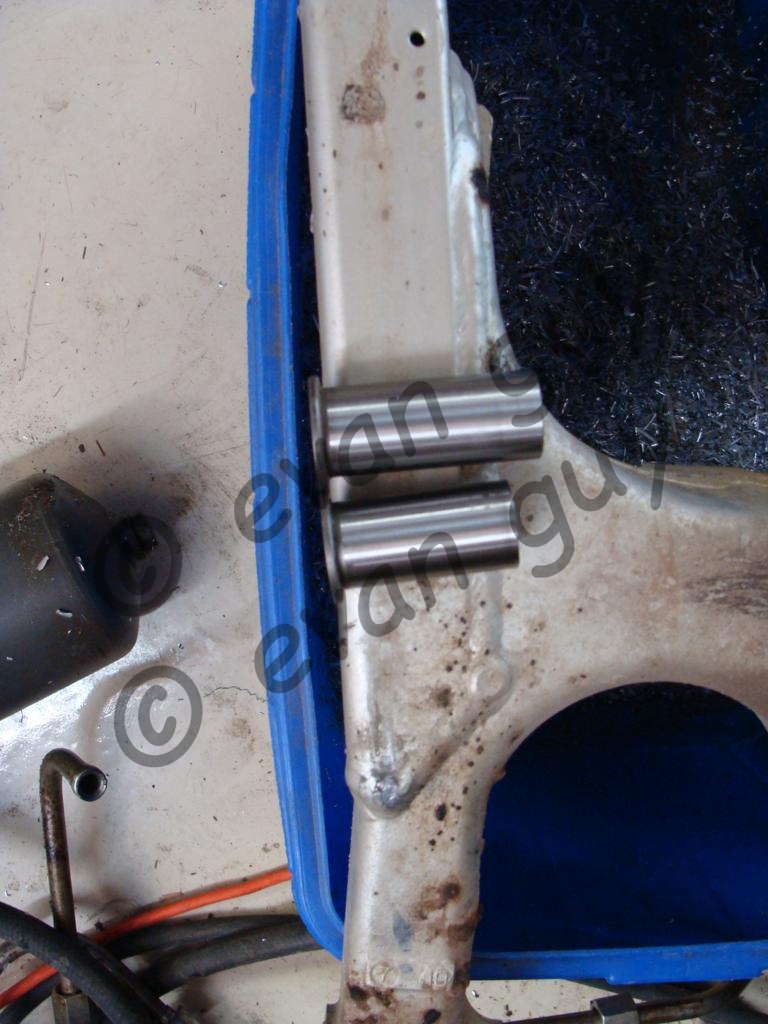
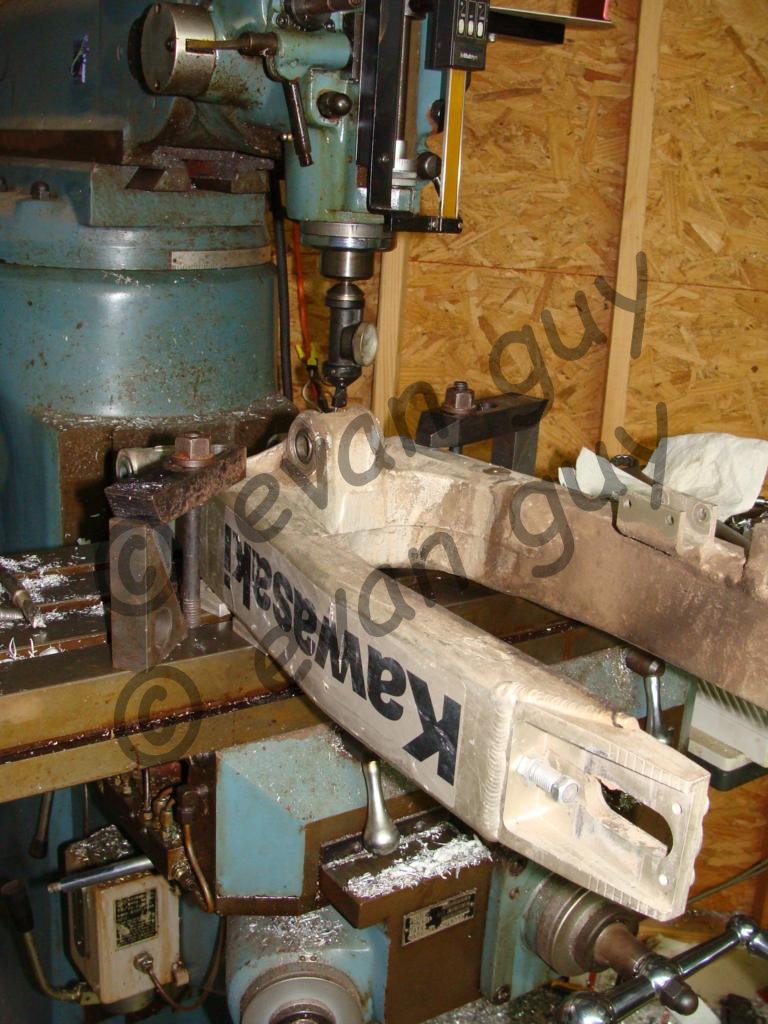
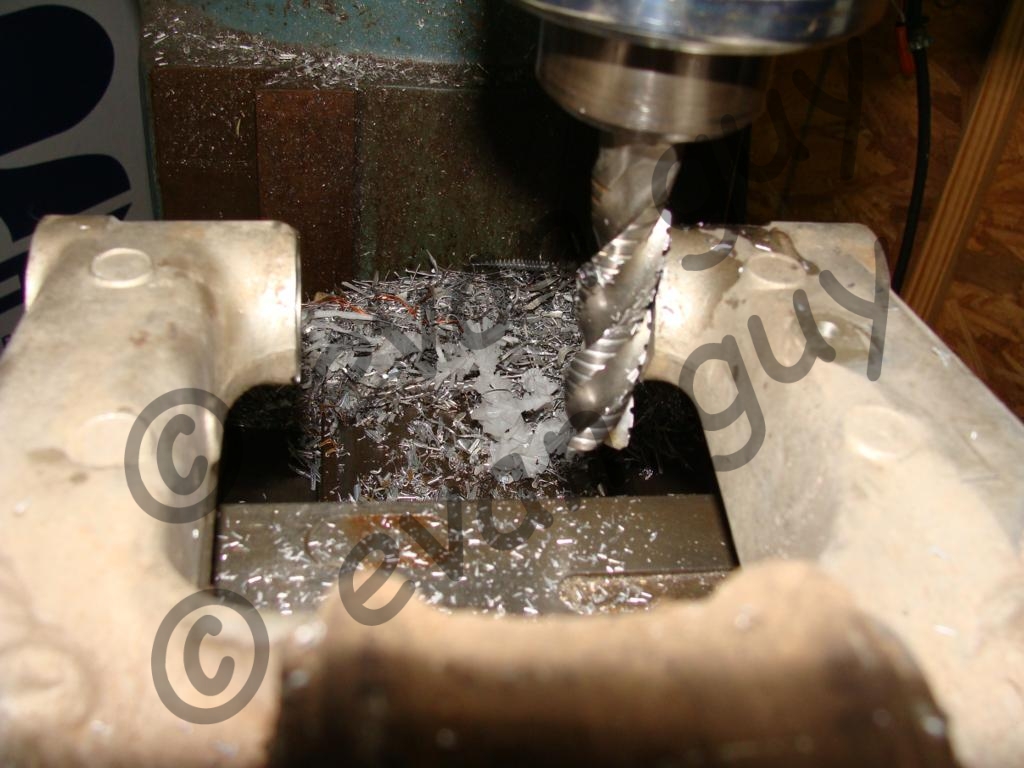
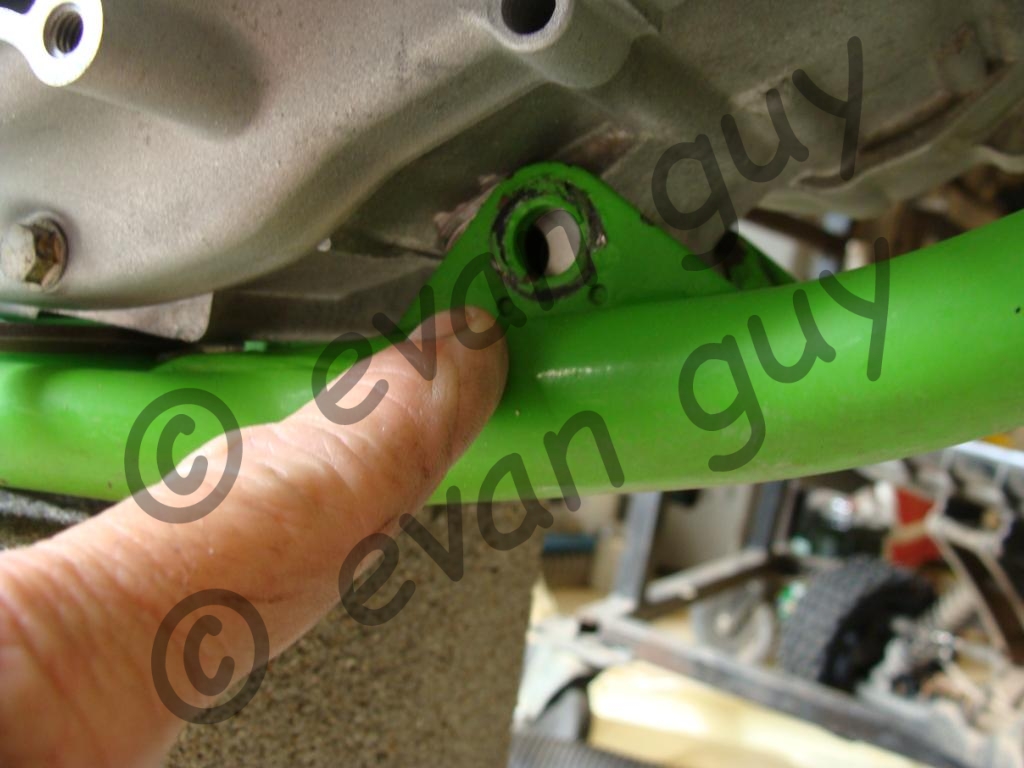
So I had to go buy a KDX-220 in order to make this happen. Here’s the donor bike next to the recipient bike. Let the surgery begin!The swing arm pivot that goes through the frame mounts, swing arm, and engine case was larger for the 125, so I had to put the crankcases on the milling machine to drill and ream the pivot bore.
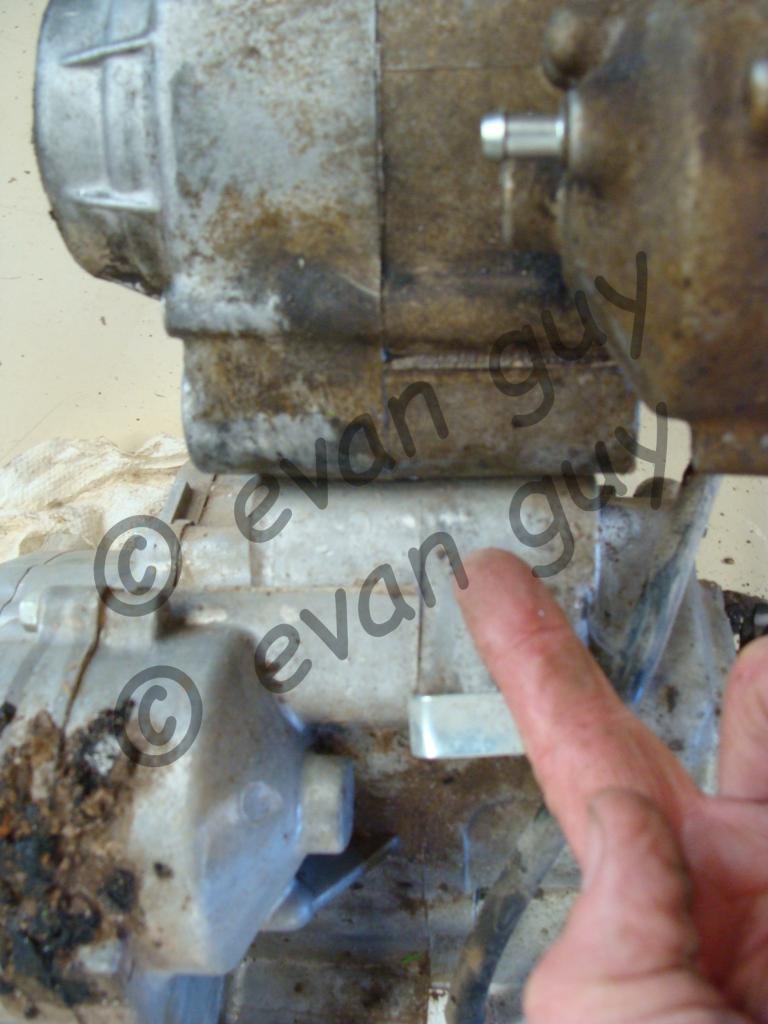
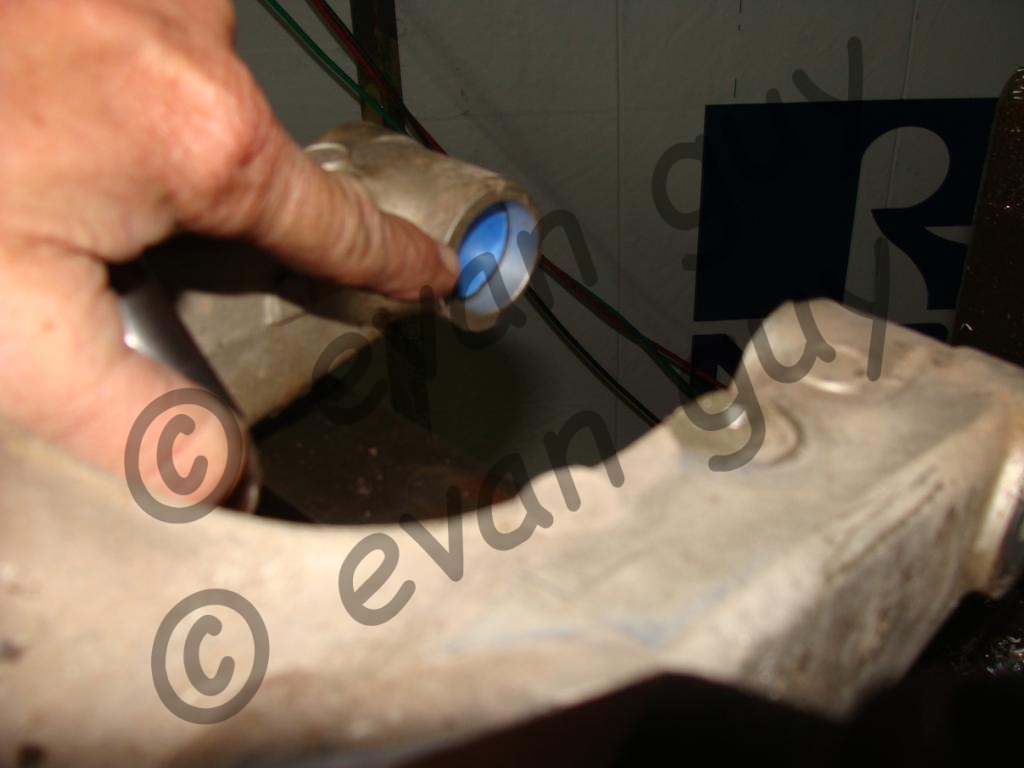
Also, the KDX mounting width was greater than that of the 125. I couldn’t machine the crankcases because it has cast-in steel inserts in this location that would have disappeared in the process.The solution was to modify the swing arm. I calculated the required geometry to get the drive chain lined up. I machined the swing arm and shortened the hardened bushings to accommodate the narrower swing arm pivot bosses.
I had to chop out all four of the engine mounting tabs.
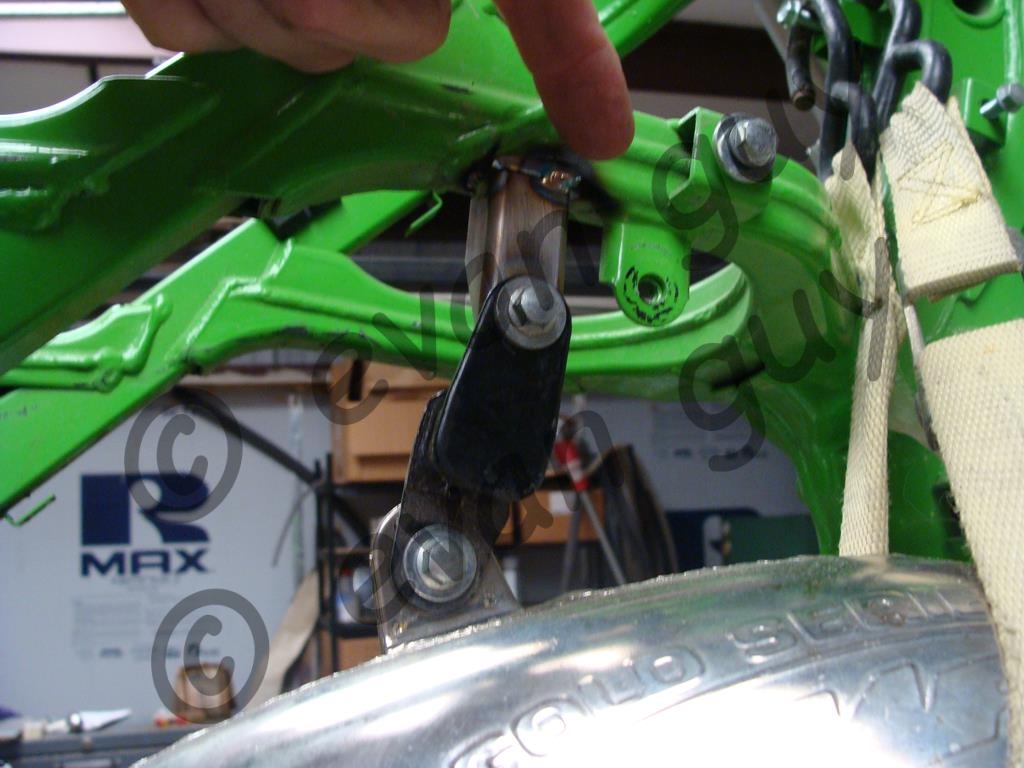
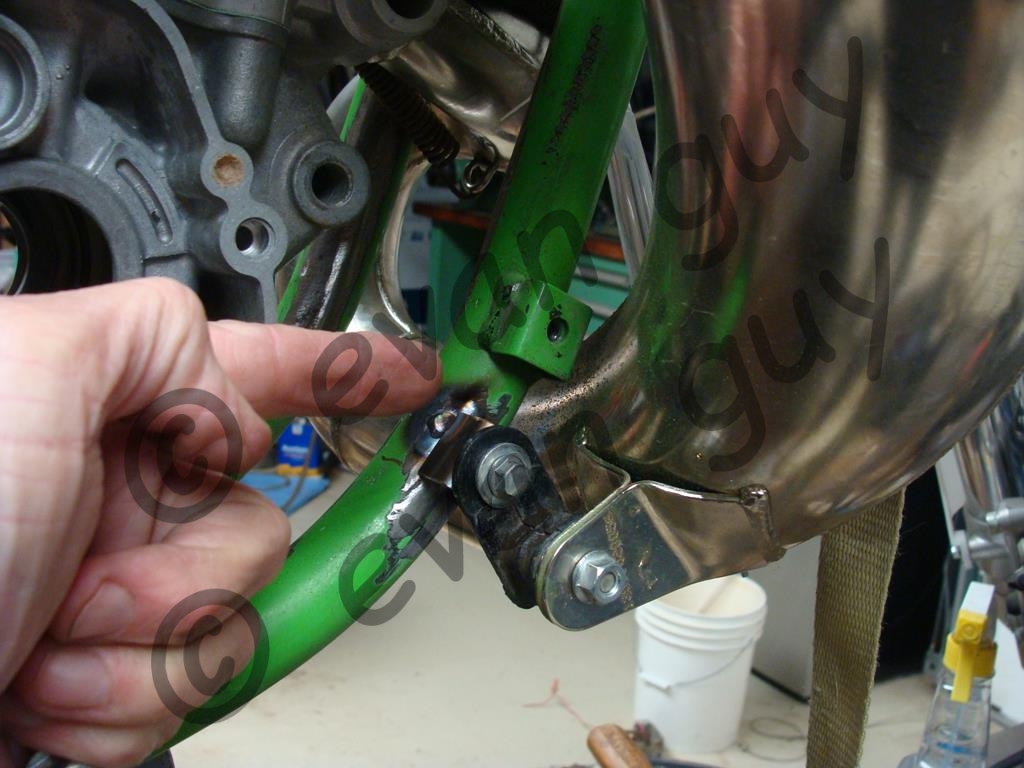
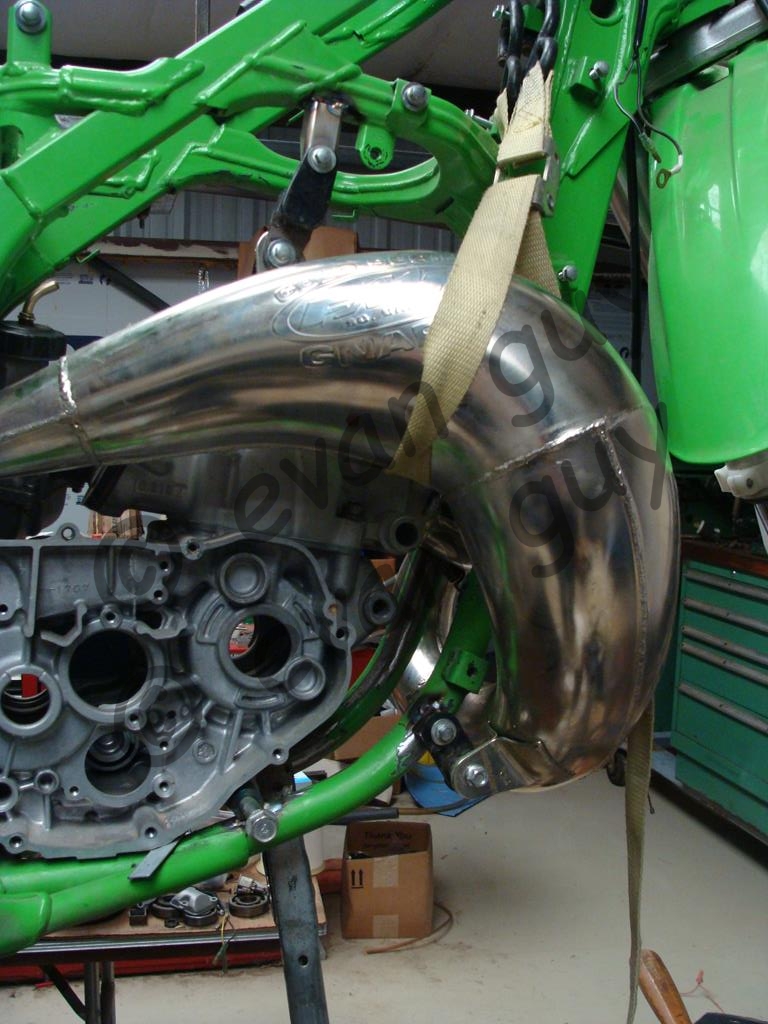
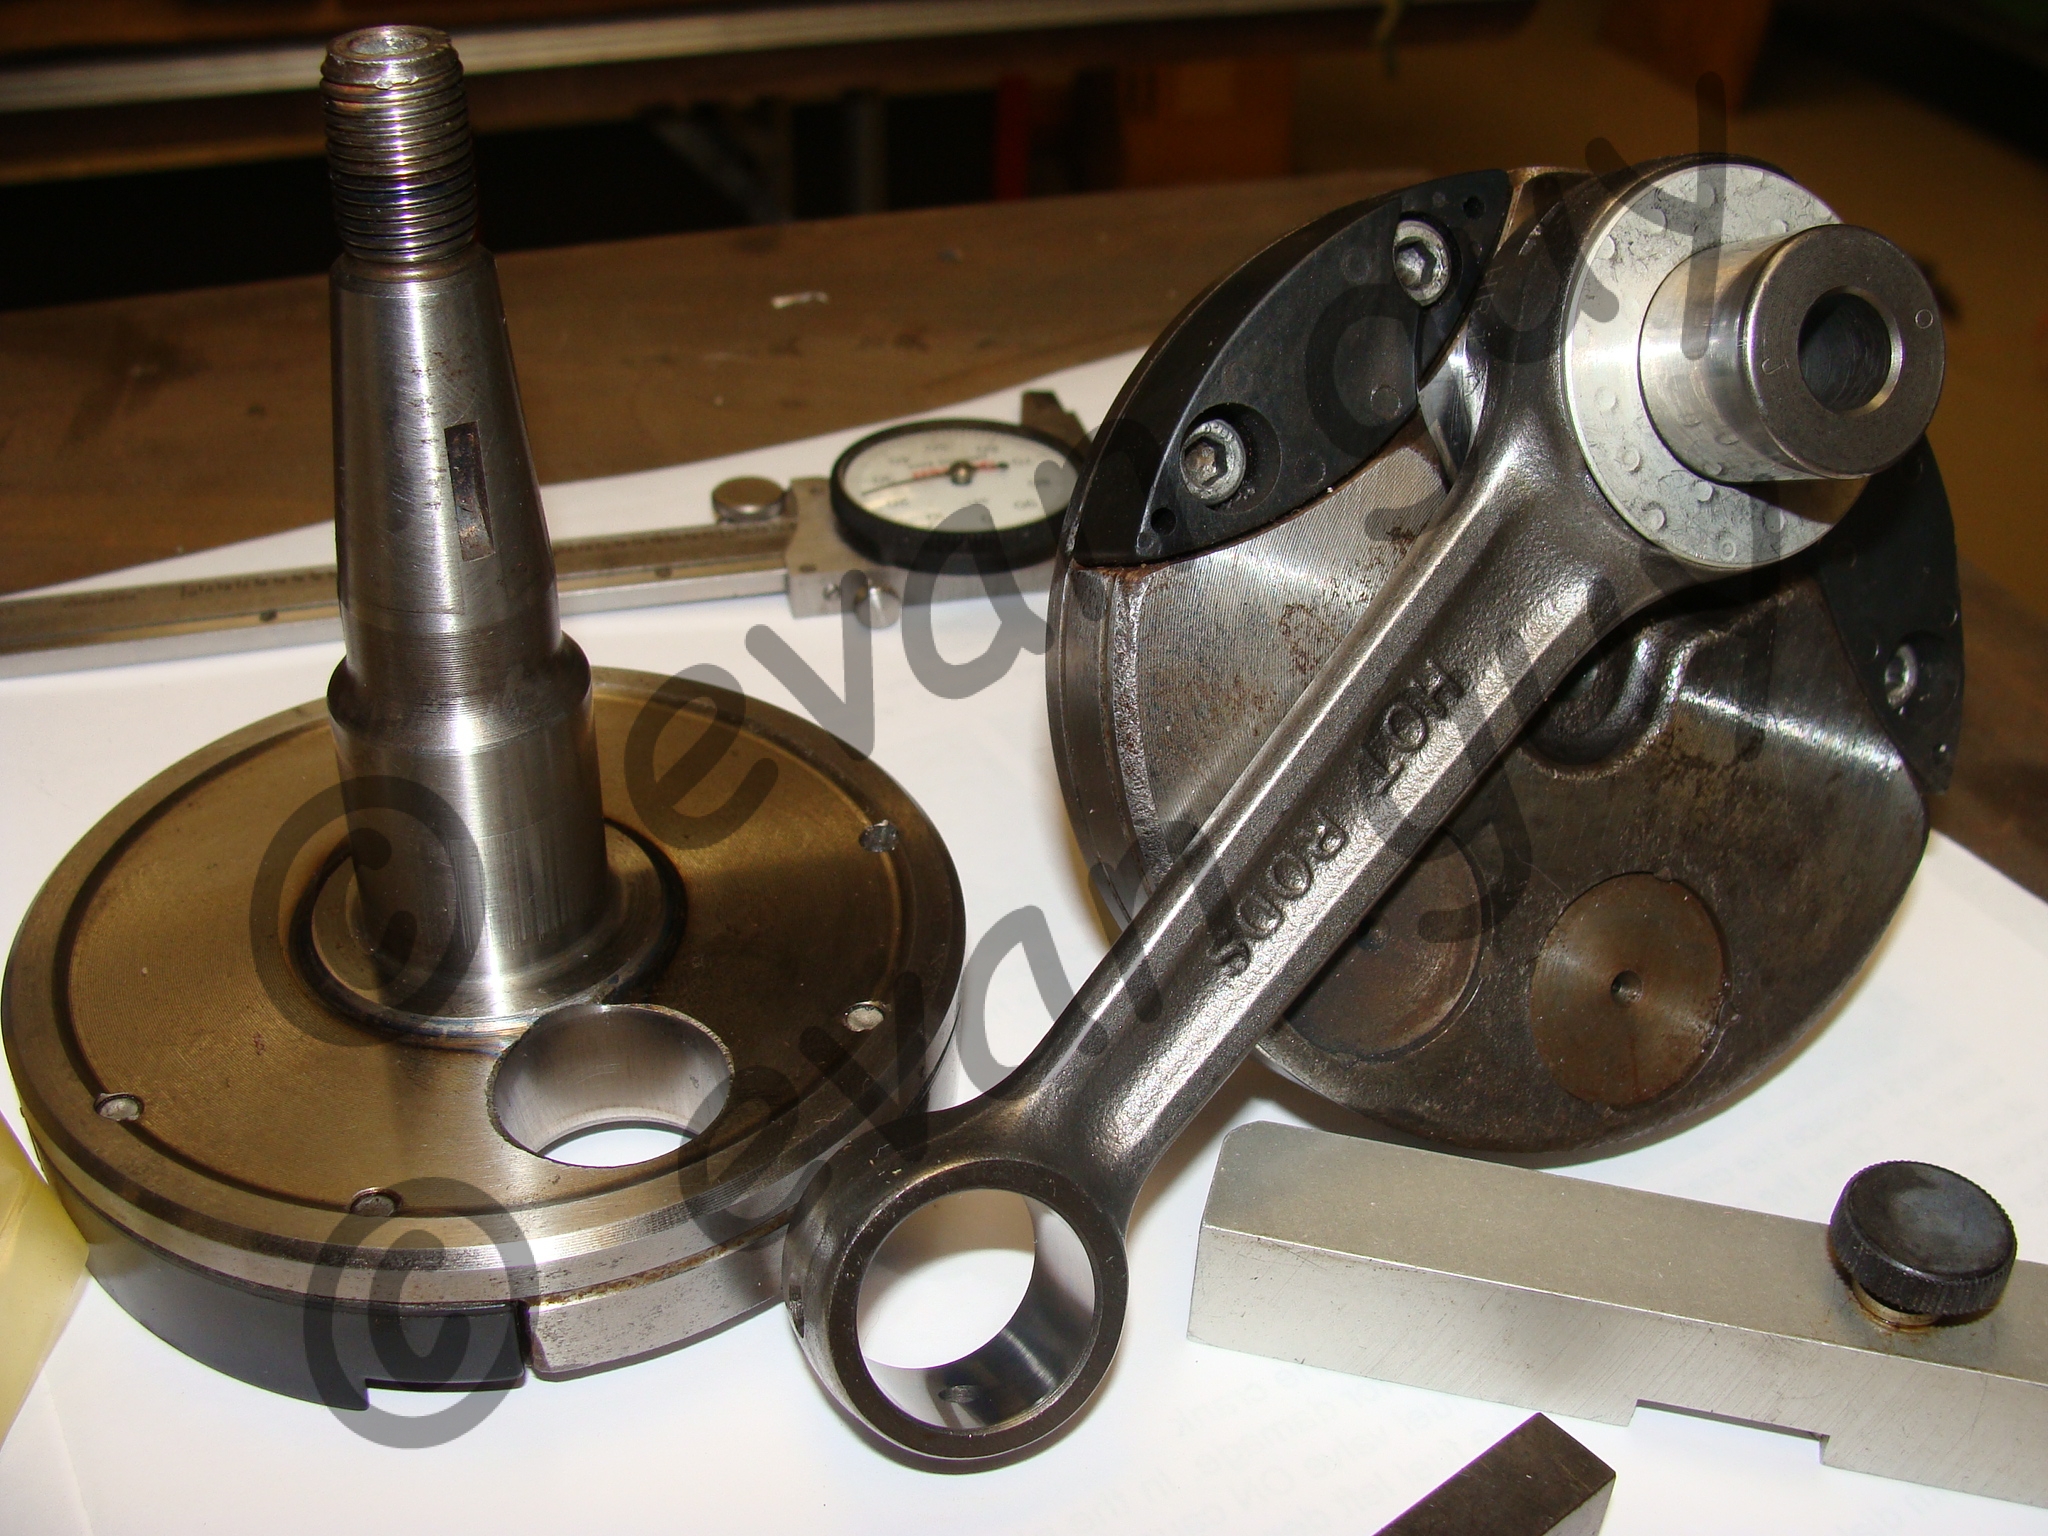
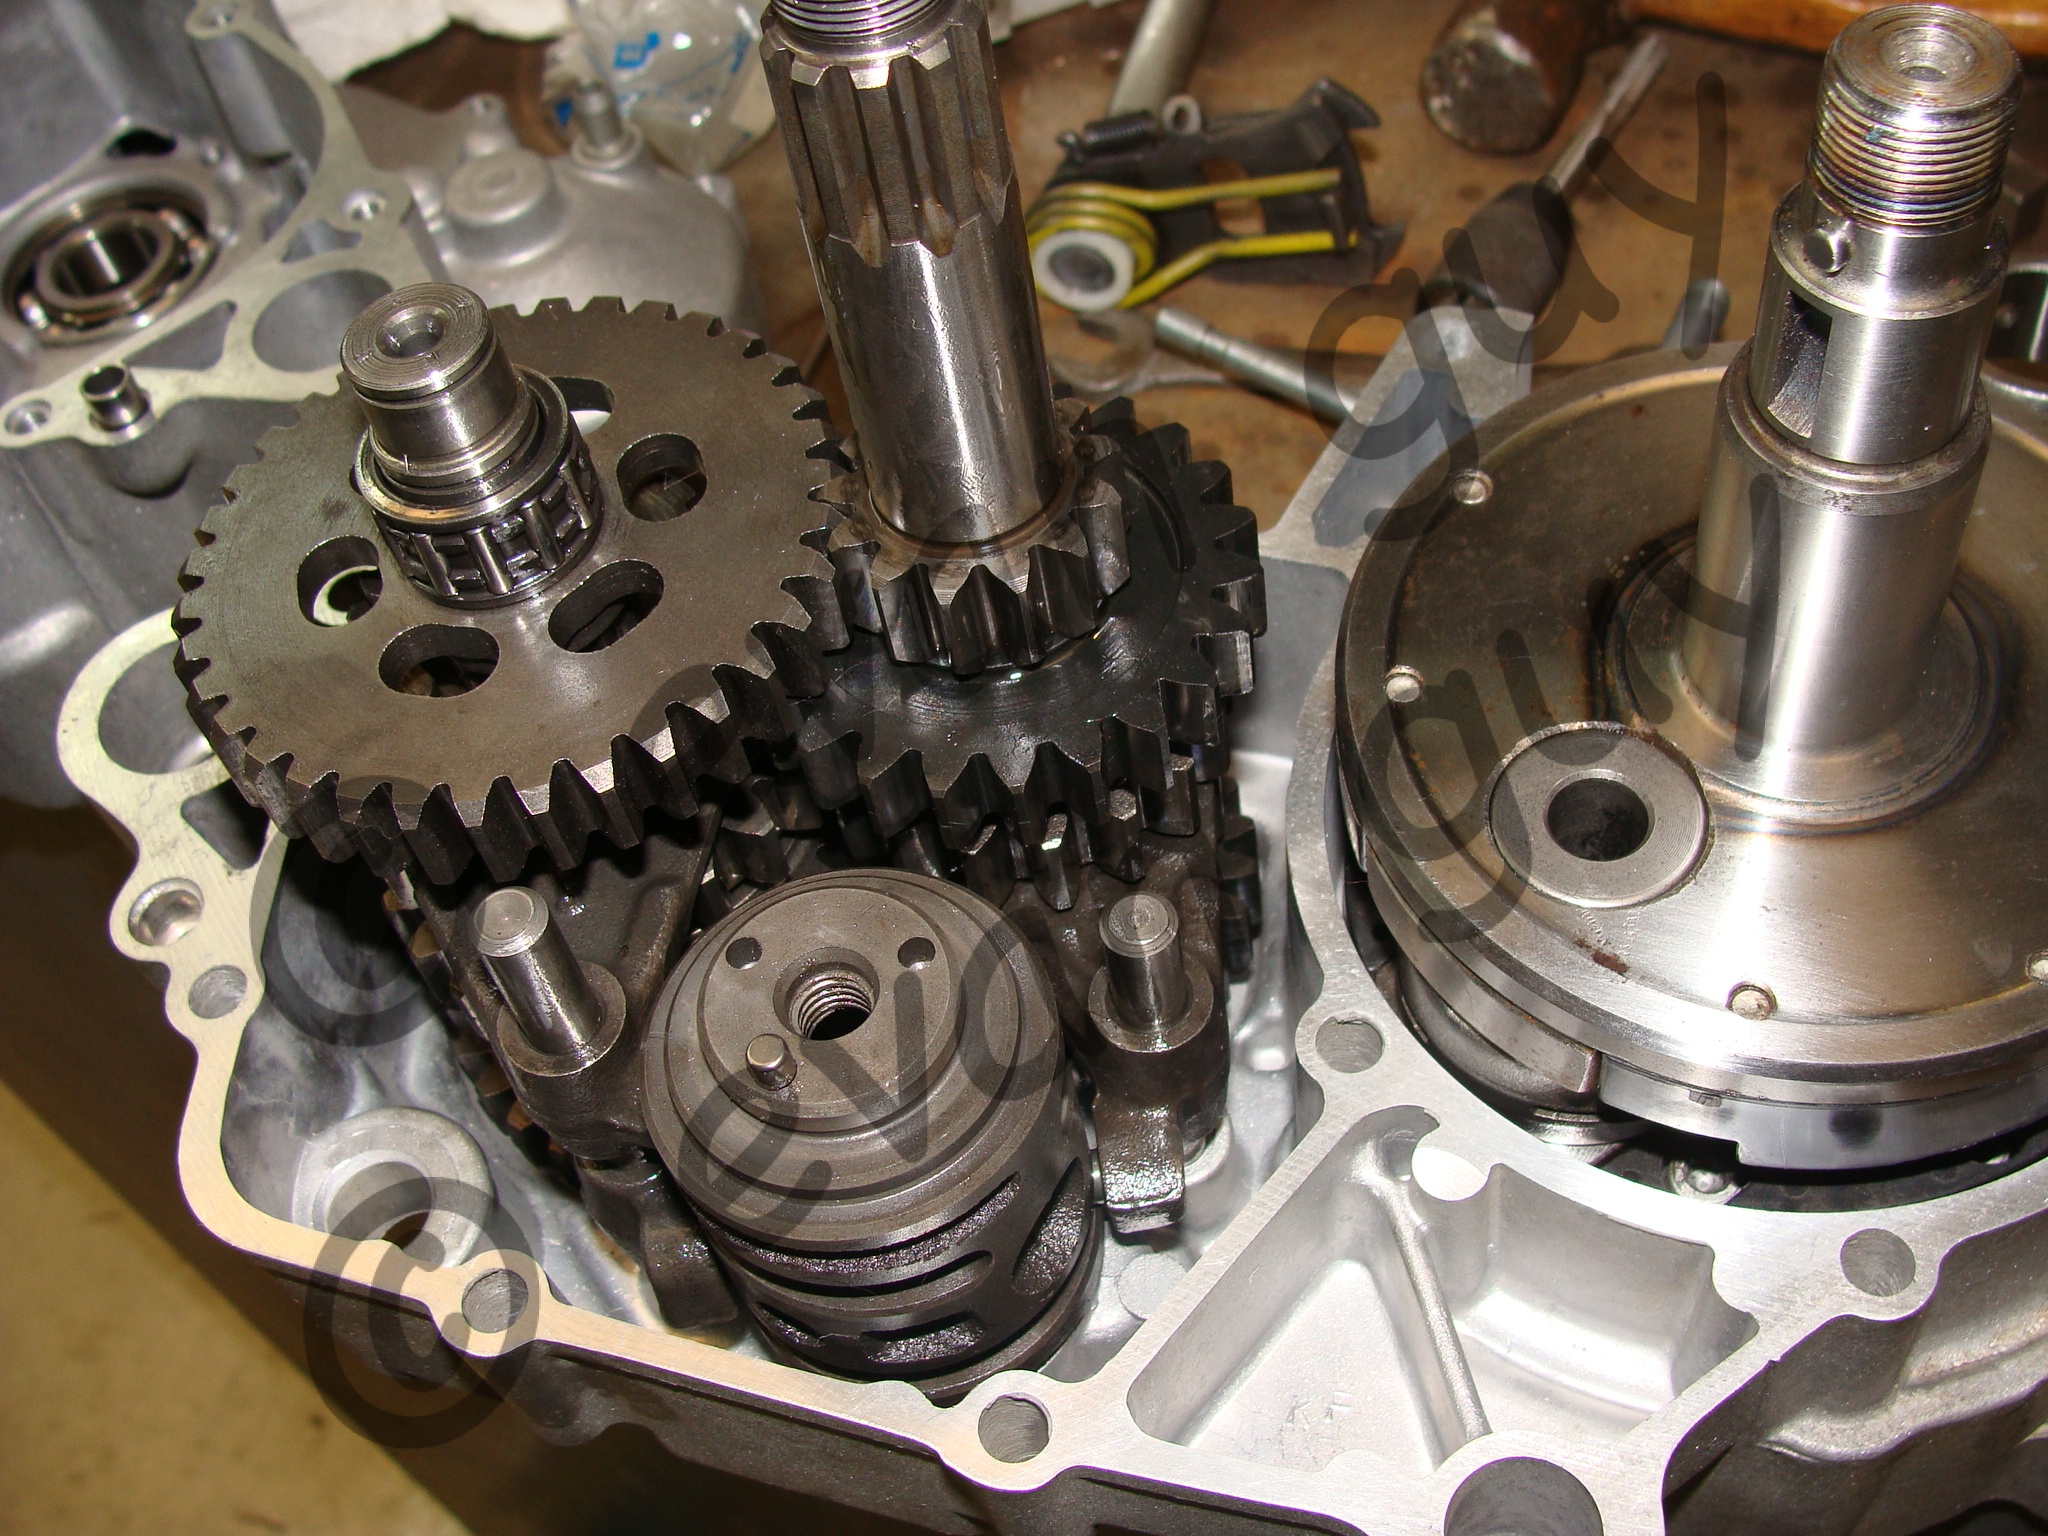
OK, PAY ATTENTION! Others who have done this conversion in the past have had to bash in a brand new expansion chamber, radiator tank, and even cut off the head pipe on the expansion chamber to lengthen it. NO, NO, NO!! It’s all about engine position! I found that if I pivoted the engine down, everything FITS without having to bash neat parts with a hammer! The problem is that the mounting bolt ends up very close to the frame tube. No room for a tab or bolt head. Solution: machine billet cylindrical mounts to move the bolt head and nut to the outboard sides of the frame tubes! BAM!! Then you buy a 140mm long bolts.New expansion chamber mount. Old one is still there, not cut off yet.Another new chamber mount, old one not yet cut off.You have to keep mocking it up! Lots of mock up!I meticulously went through the whole engine. Rebuilt the crank, bore replated, new bearings in the transmission. Basically put the whole bike back to BRAND NEW condition! WooHoo!
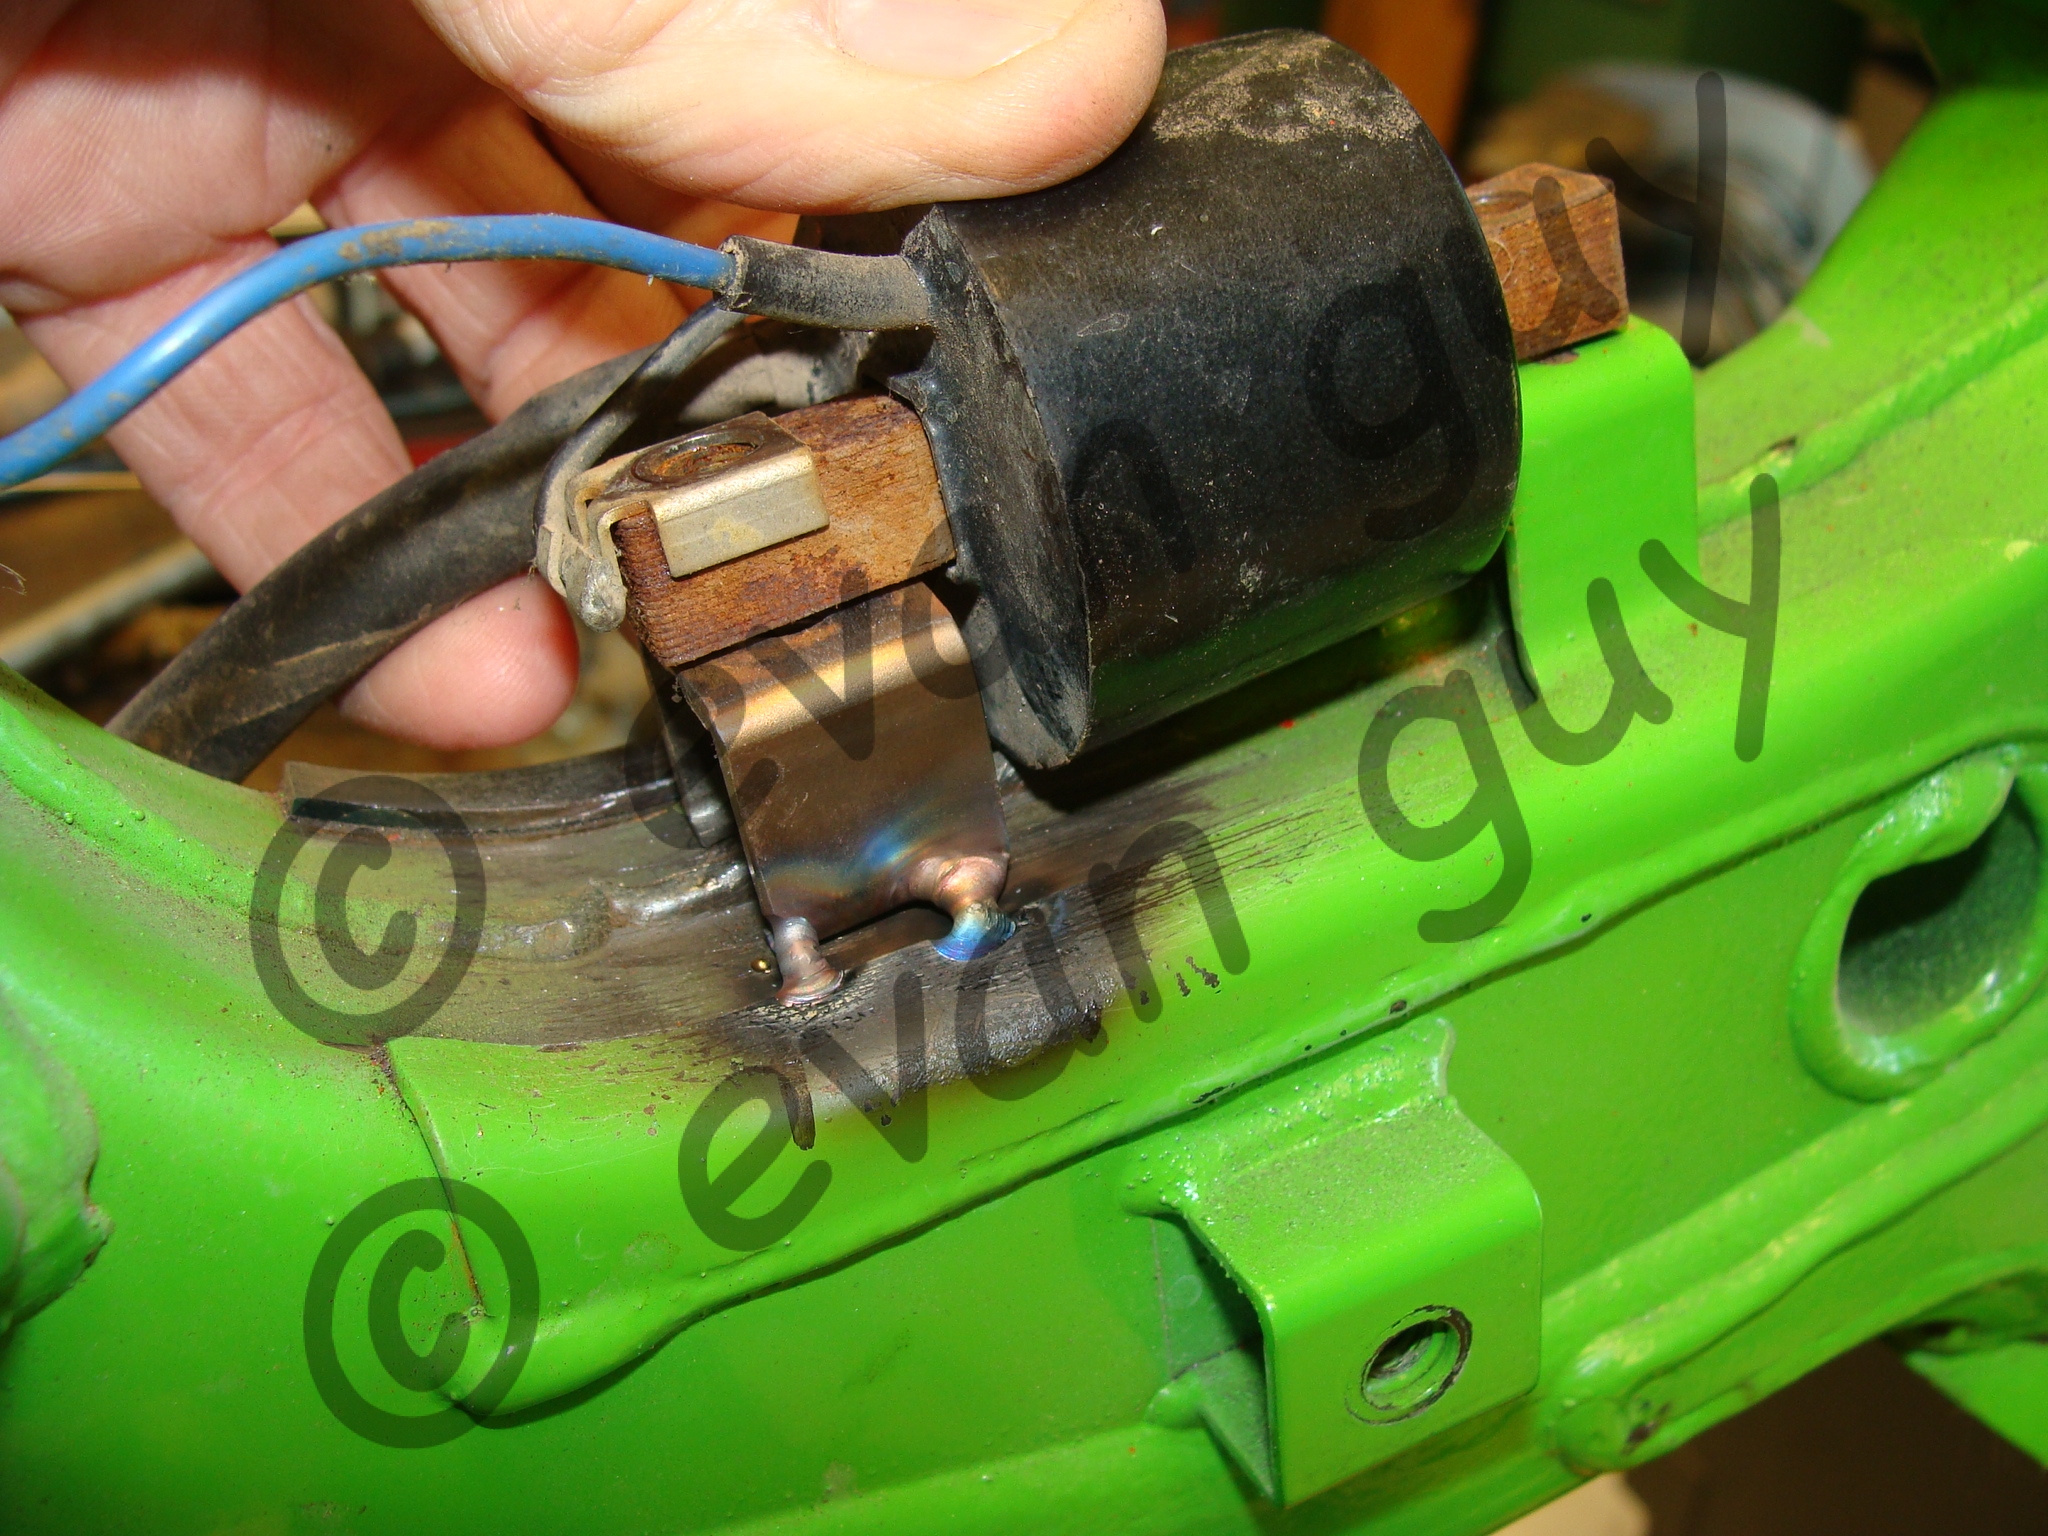
KDX uses a shorter coil than KX…new mount tack welded in place.Yummy! Looks delicious, eh?!
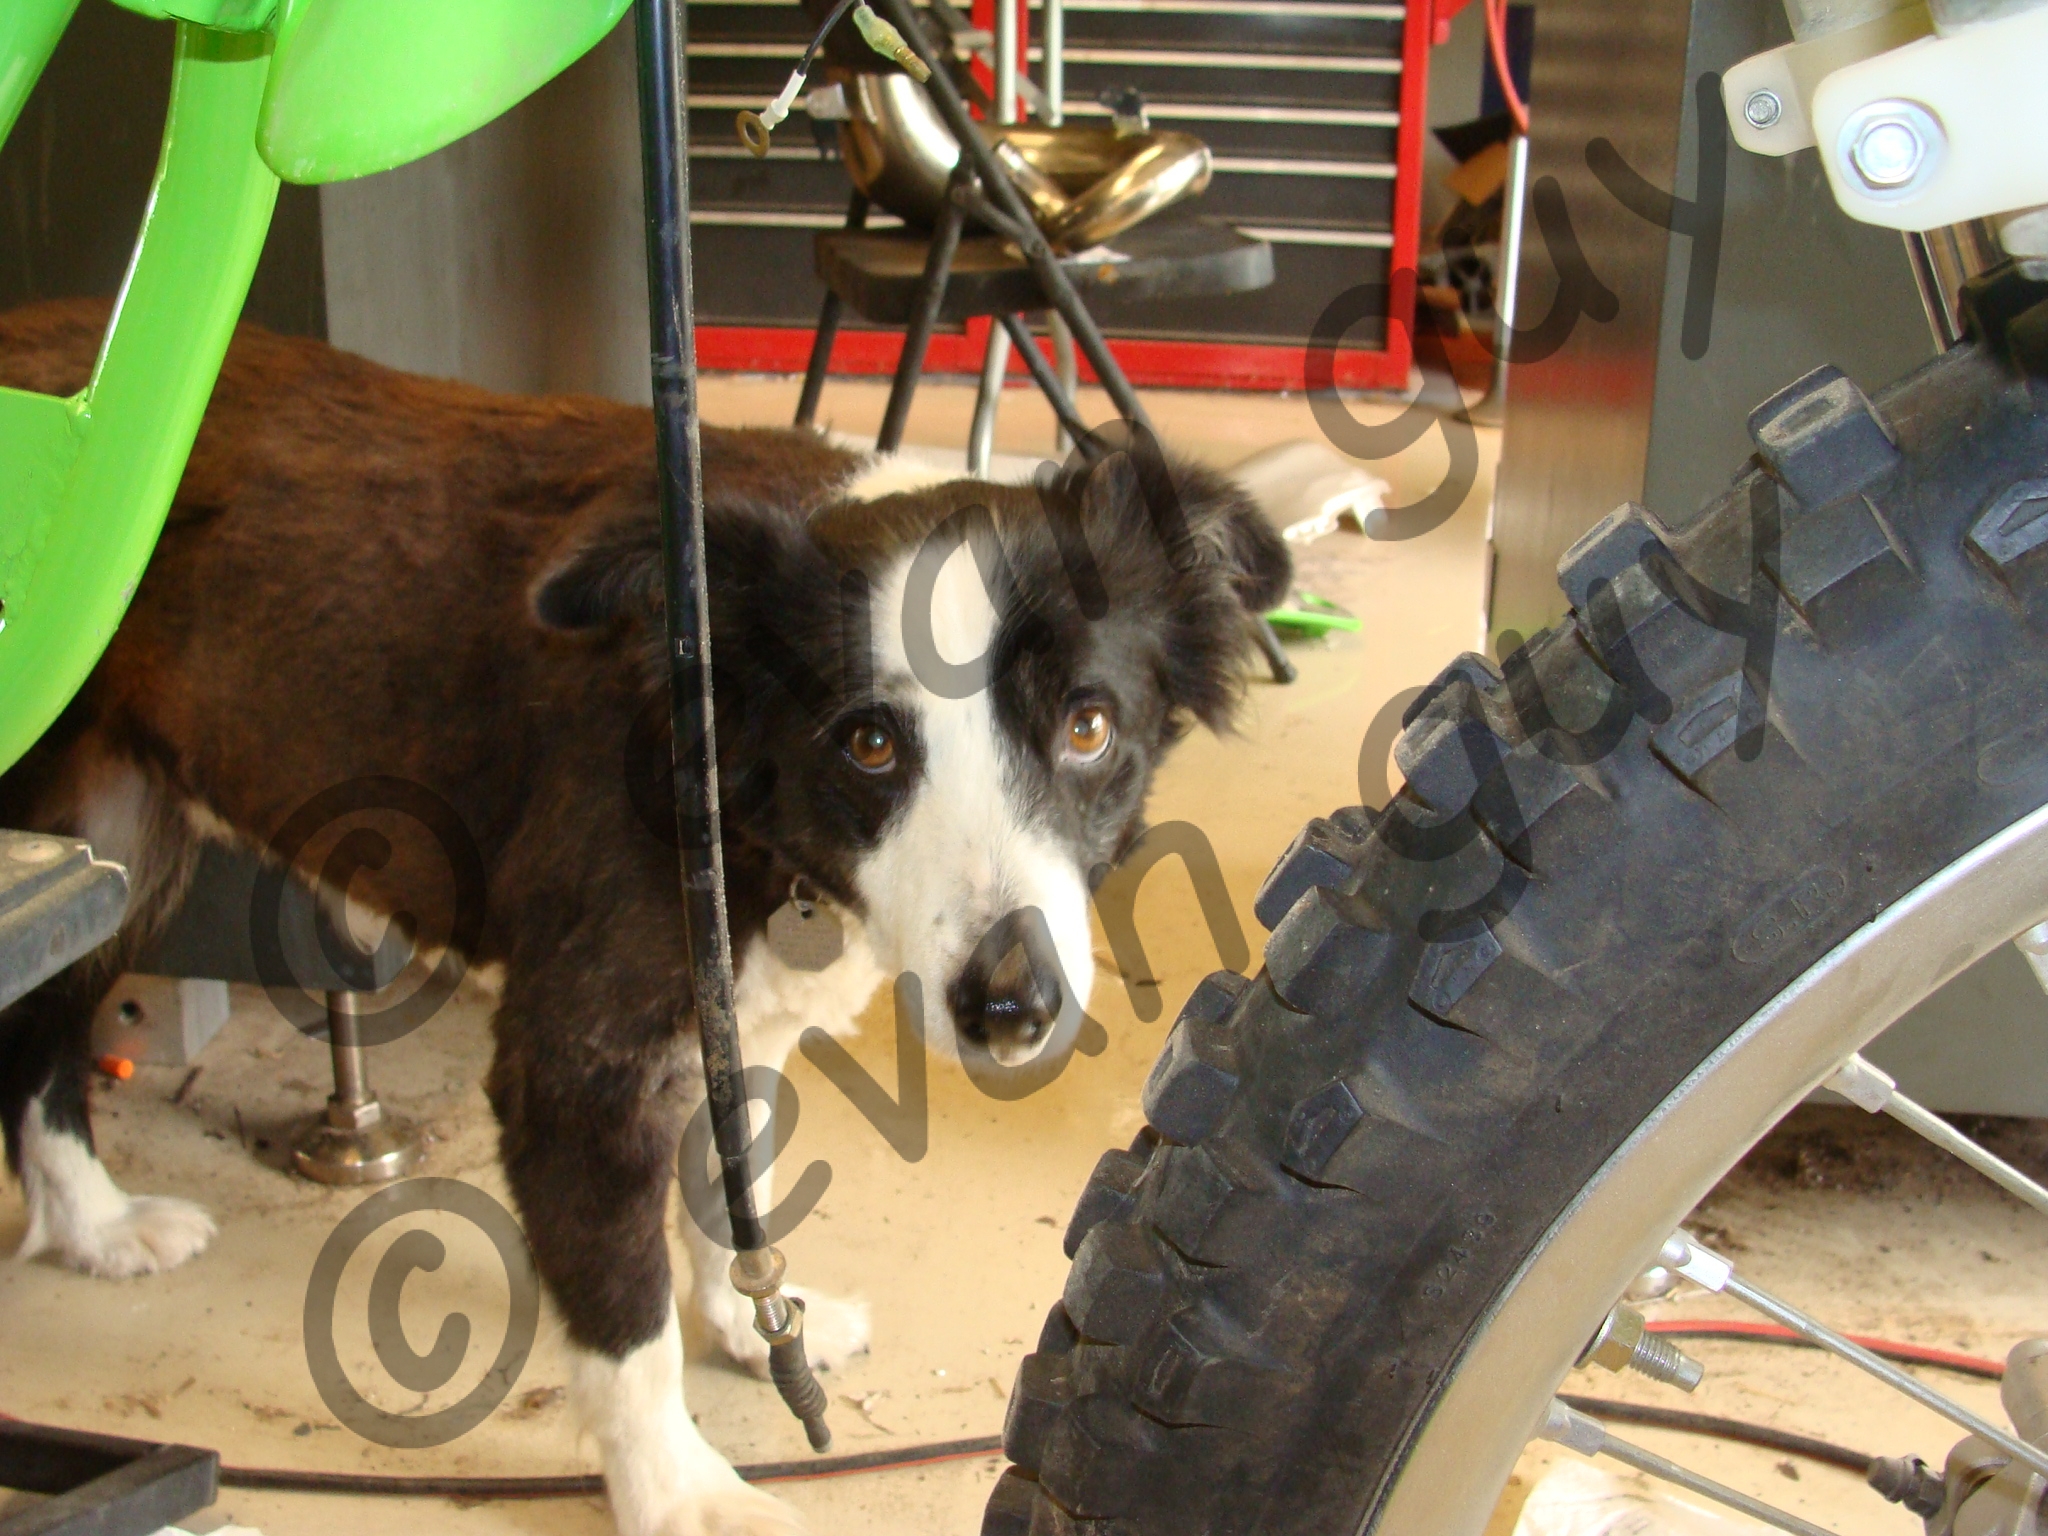
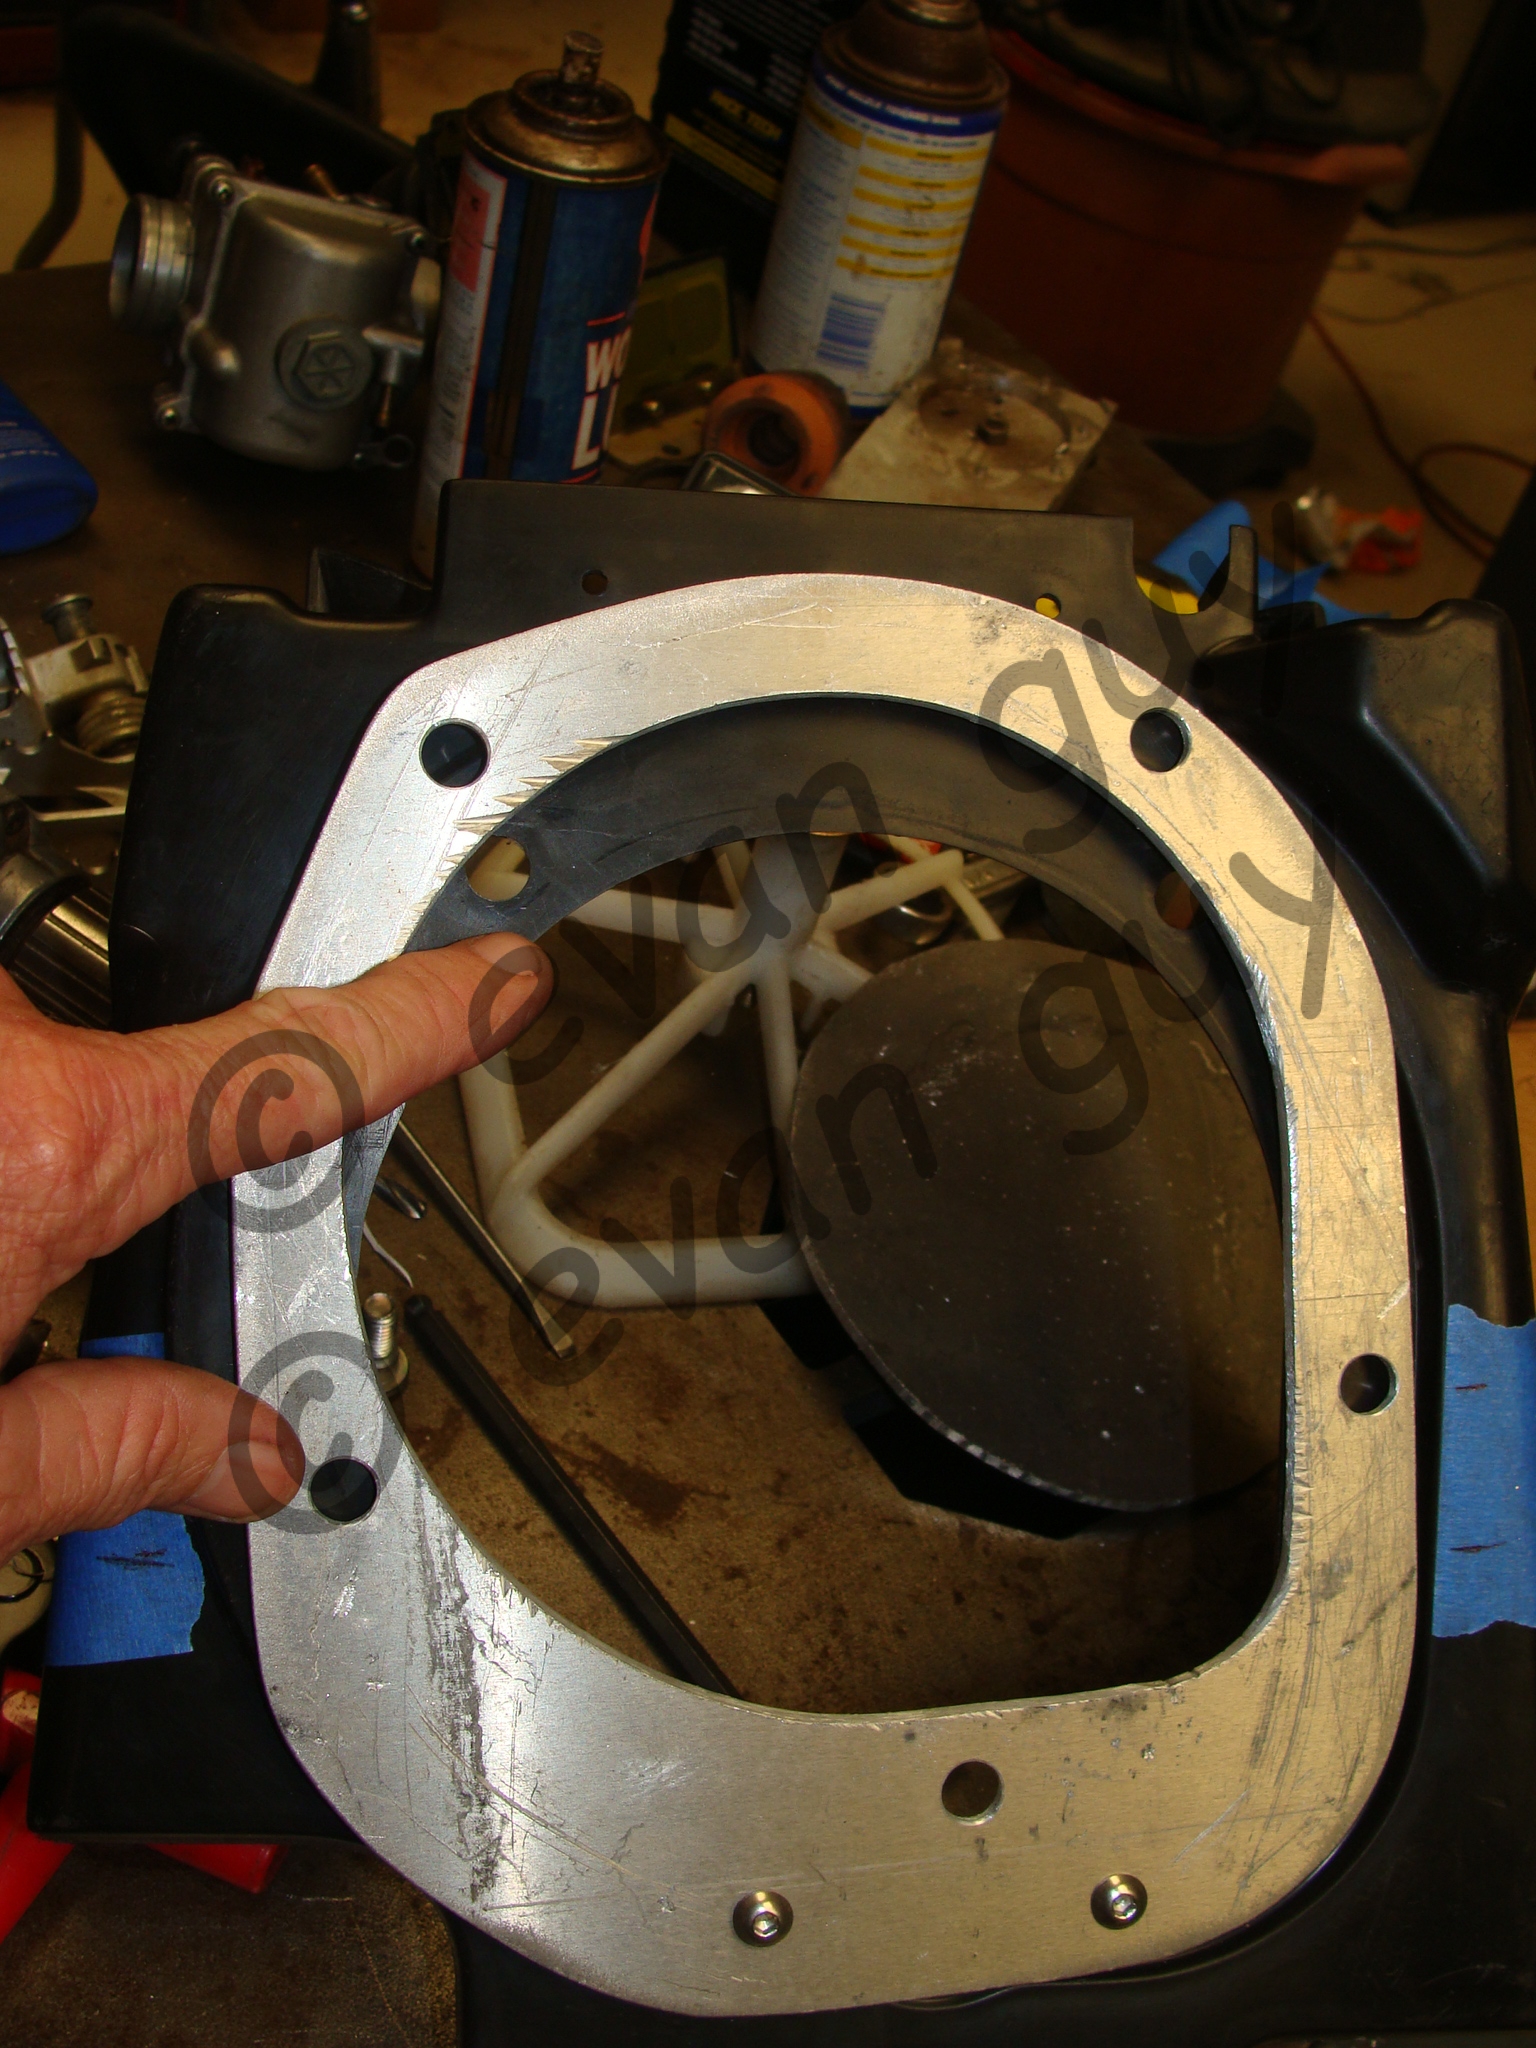
It was only smart to rework the rear shock due to brand new, but 13 year old seals.Tessie always helps out!Filling and bleeding the air out of the rebuilt rear shock.This was a bit of a pain in the ass, but the air filter box MUST be 100% right! Mixing and matching parts of both bikes, I came up with this combination. The airbox boot needed to move up 1 inch in the airbox. A good bit of head scratching and trial-and-error led me here. The aluminum piece is painted satin black and you don’t even see it. Most importantly, the air filter system is perfectly sealed against dirt intrusion.
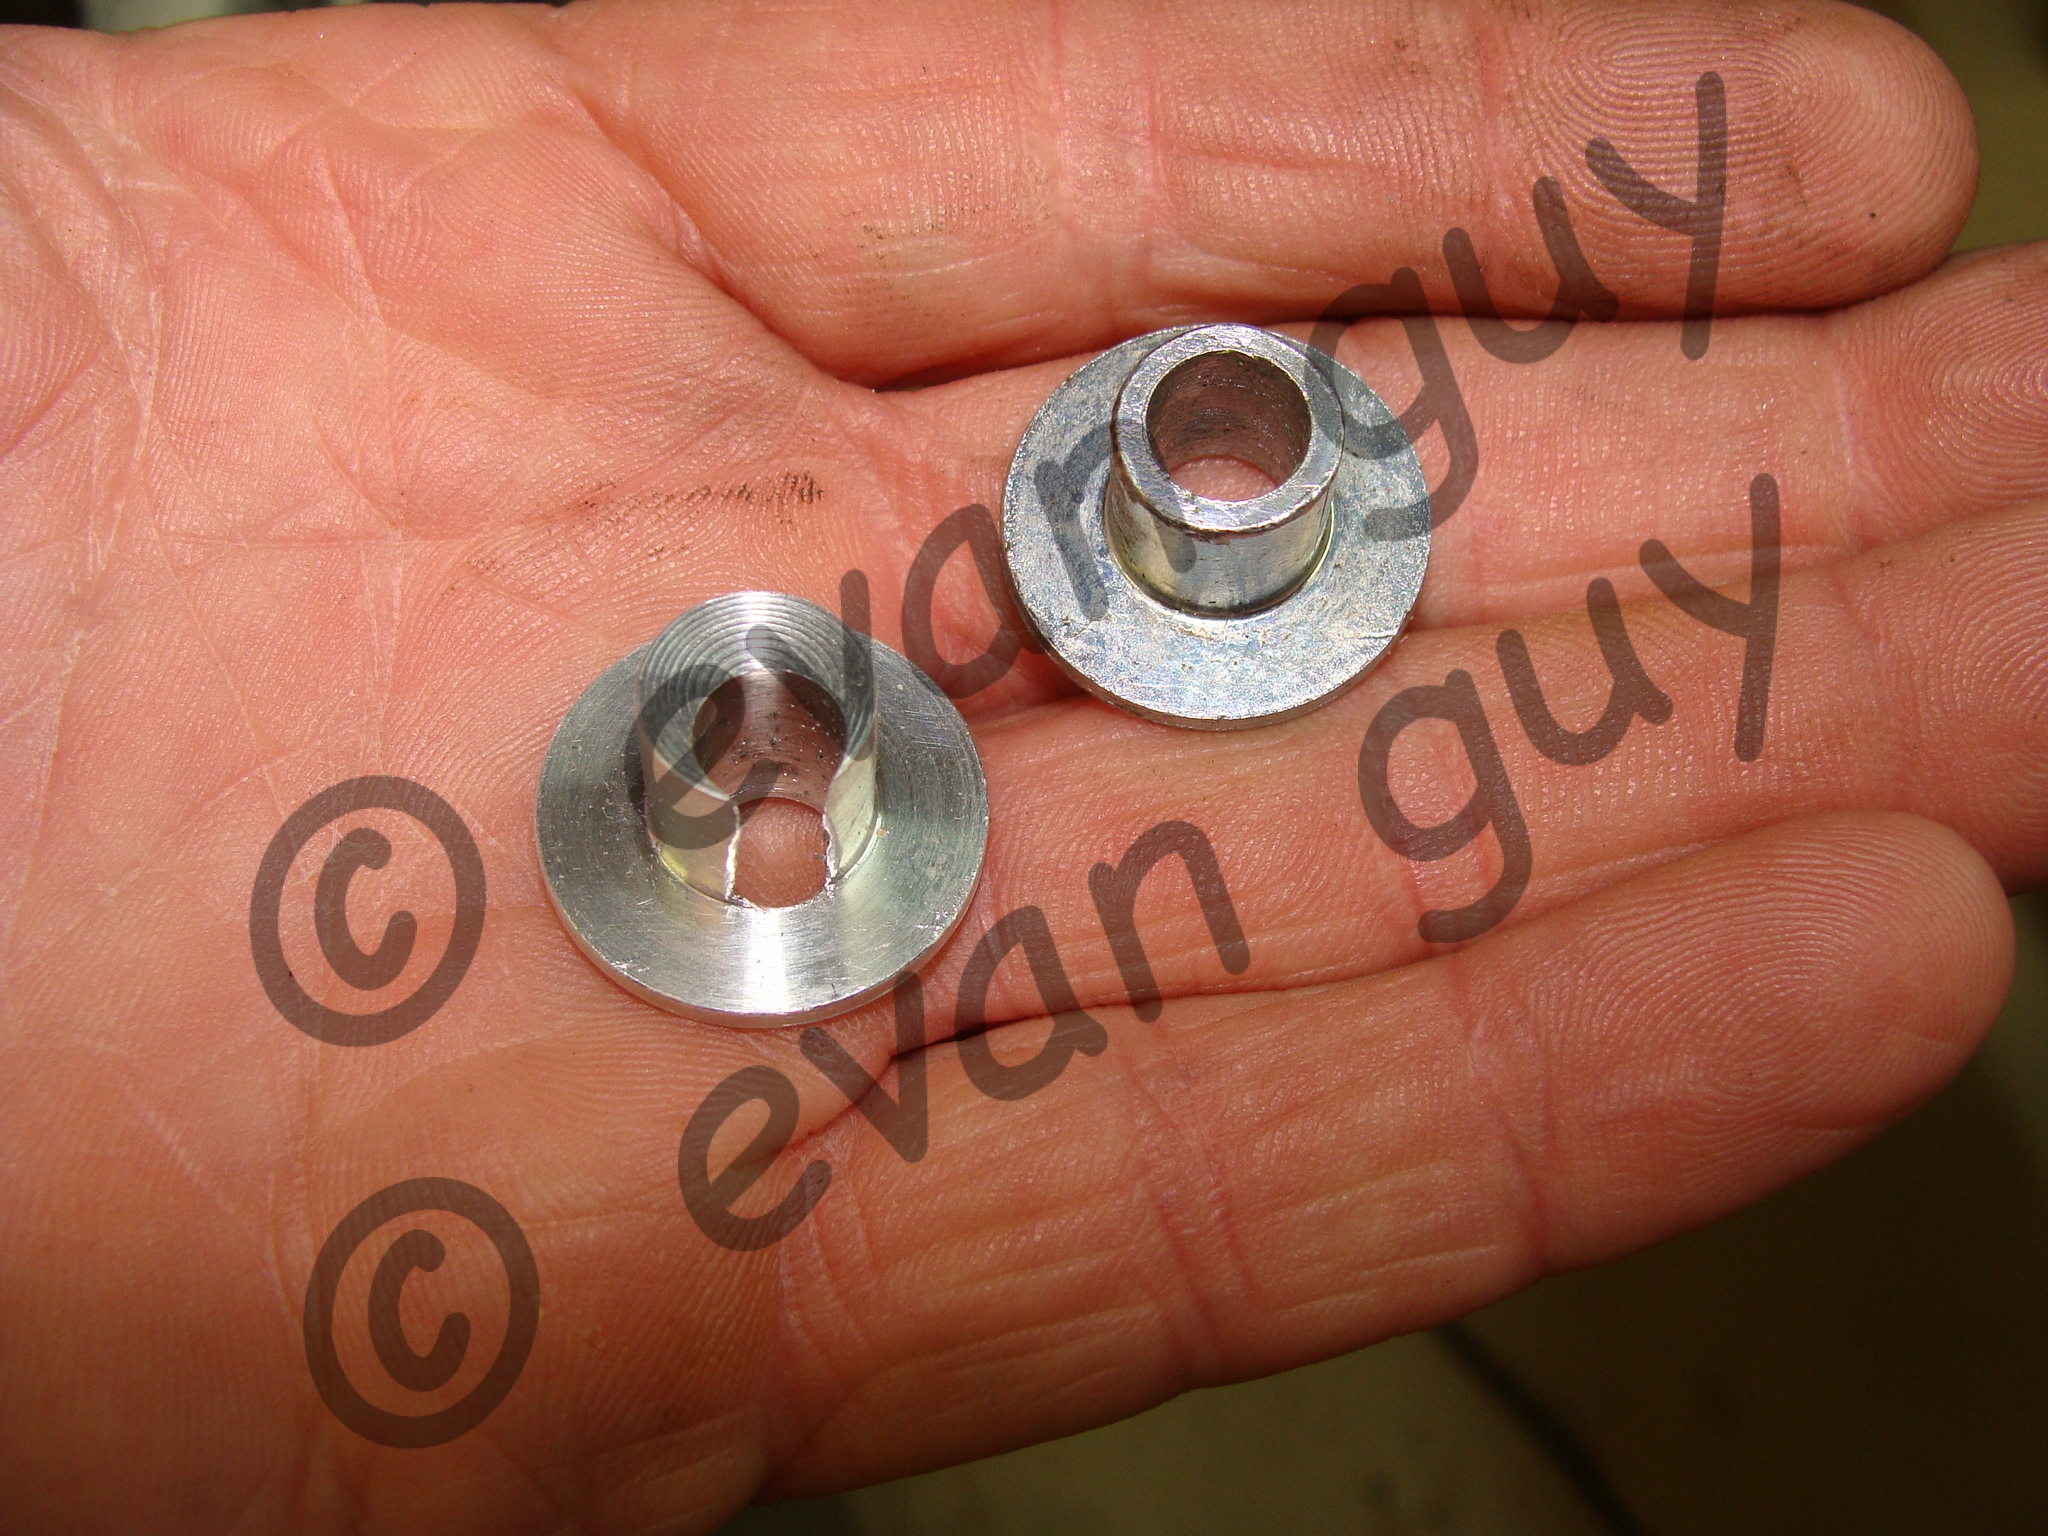
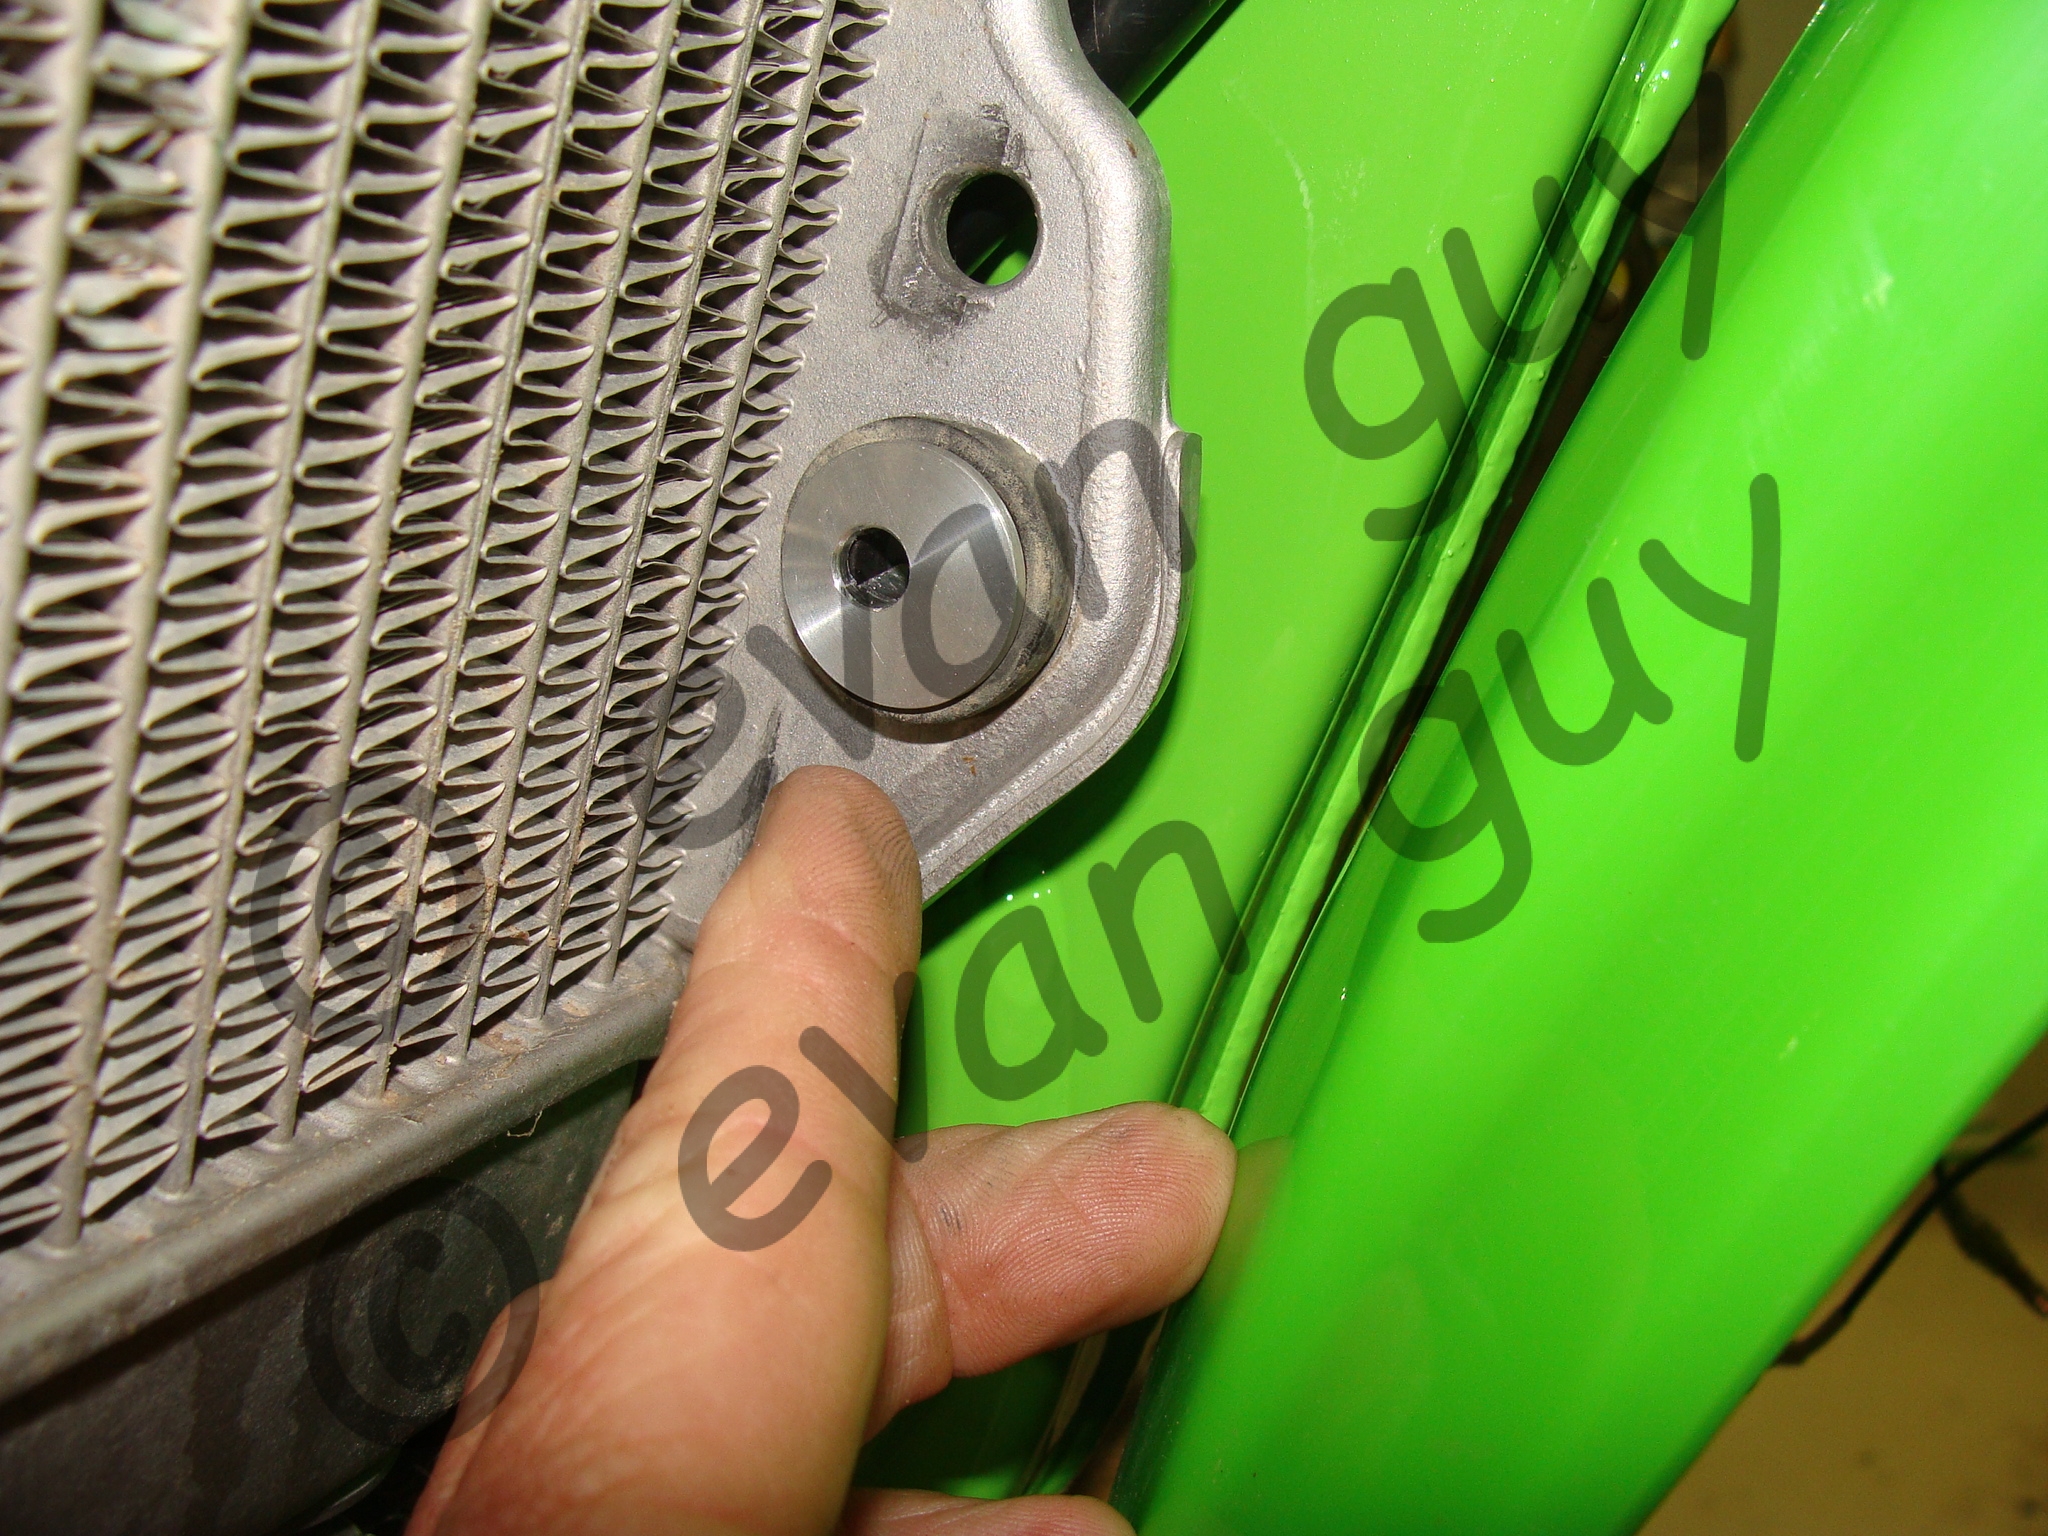
The right side radiator had a little bit of interference with the expansion chamber and lower cooling hose. This offset bushing kicks the bottom of the radiator forward a bit, fixing the problem.
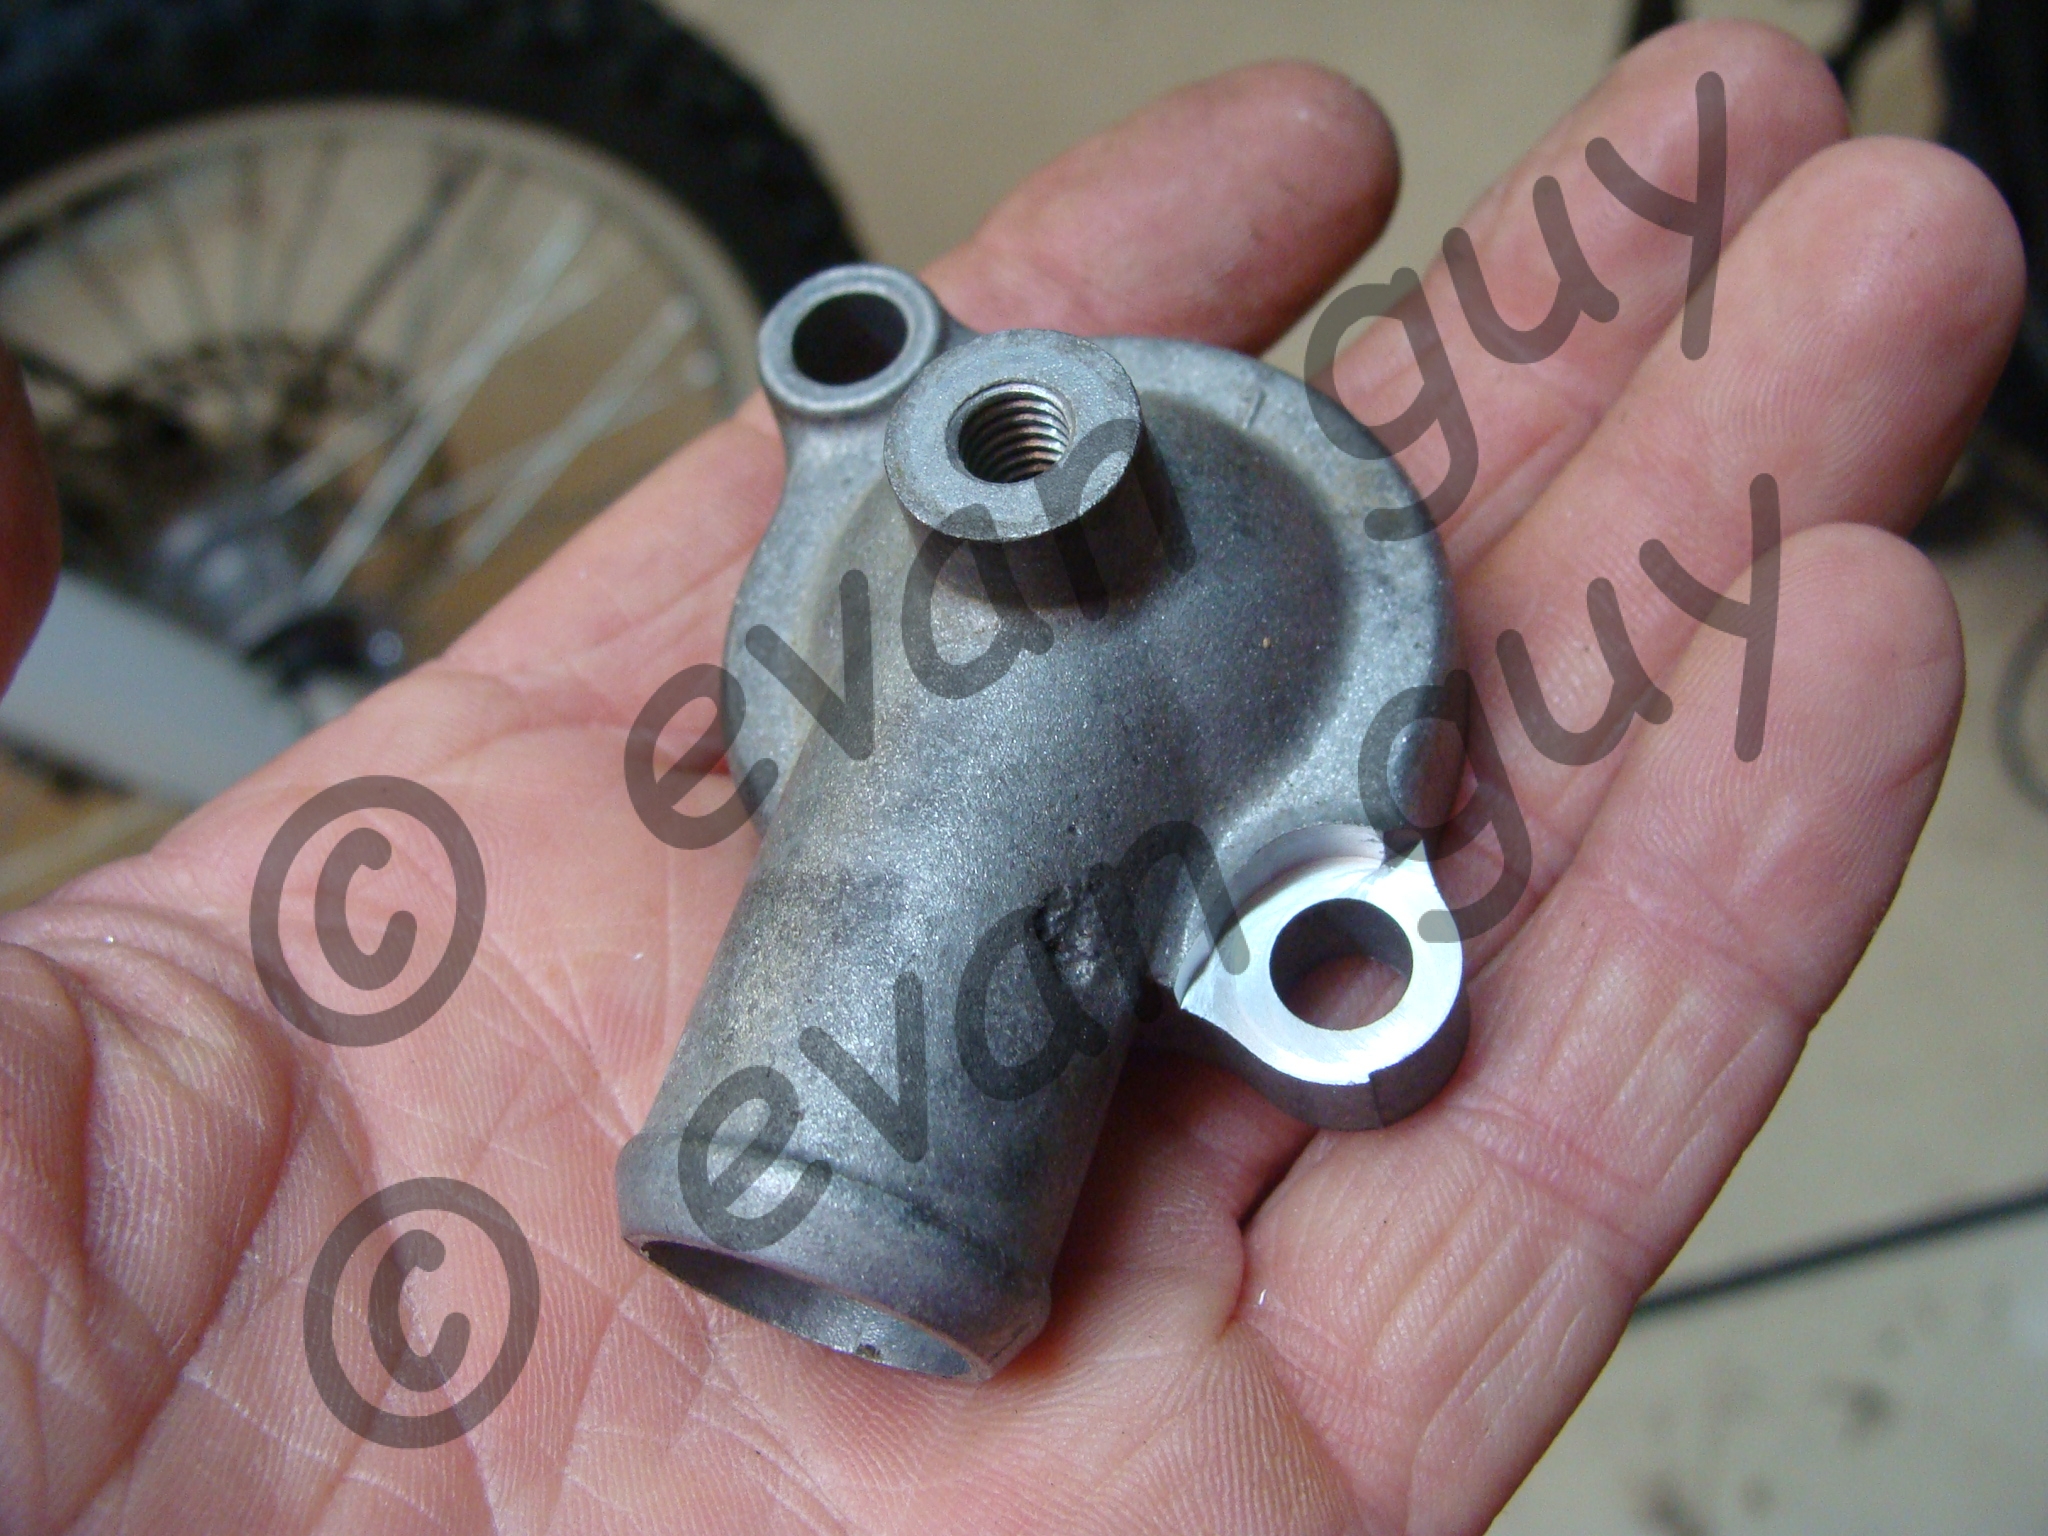
The coolant outlet on the cylinder head needed this spot-facing and a shorter bolt to clear the underside of the fuel tank.